
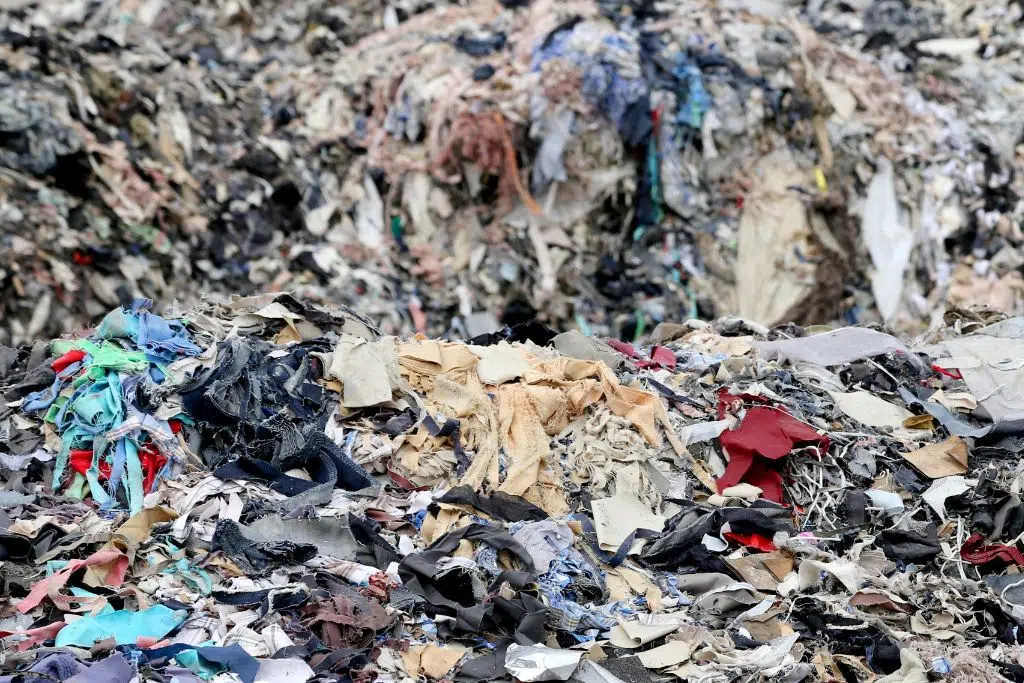
Every year over a million tons of garment waste ends up in landfills the world over. Between fast fashion churning out as much as they can and lightning quick trend changes, the fashion industry is one of the most wasteful in the world. According to Earth.org, the average American throws out over 80 pounds of clothes every year. People are also buying clothes more than they ever have; the number of garments purchased increased by 60% between 2000 and 2014, but the number of times a single garment is worn before being tossed out has decreased by 36% in the past 15 years, and around 40% of clothes are never worn at all. Even if you donate your clothes instead of throwing them out, they will most likely end up in the landfill without having a secondary owner. Having worked at a major thrift store for years, I can tell you first hand that the majority of donated clothes are thrown away, either because they weren’t sold in a certain amount of time or because they never made it to the racks in the first place. Clothes that are made out of synthetic materials like polyester are not biodegradable, taking between 20 and 200 years to fully decompose. Of all the clothes currently on this earth, almost 69% of them are made from synthetics, and the vast majority of them will still be on earth long after everyone alive today has died.
Clothes don’t only represent waste when they end up in the garbage either, the process to create clothes also creates enormous amounts of waste. The fashion industry alone is responsible for 20% of the world’s water pollution, and 3% of global CO2 emissions. The amount of water needed to make a single t-shirt is more than a person needs in two and a half years. There are a LOT of clothes that currently exist, each one representing huge amounts of emissions and pollution. There are enough clothes on earth currently to clothe the entire planet for the next six generations, and yet the amount of clothing being made just keeps increasing. Most of that is made by people whose wages are completely unlivable. We all know by now that the fashion industry is full of sweatshop labour and modern slavery, and though it’s easy to ignore where your clothes come from when you’re in the store, it’s important to remember that as many as 100 people were involved in the creation of each piece of clothing you own. Approximately one in eight people in the global workforce is involved with the textile industry, that’s how huge it is.
Mending lengthens the life of a garment, keeping it out of the landfill, and stopping people from needing to purchase new garments. It’s been several years since I decided to get as many of my clothes as possible from second-hand sources, which is far more sustainable than buying new, but it also means that a lot of my clothes are already showing signs of wear by the time they end up in my wardrobe. Mending is how I keep these clothes wearable, as well as leave my own personal mark on them. Mending adds a unique beauty to your garments, making them one of a kind. It’s also important to me to respect the items I have in my life. By caring for the clothes I own I am respecting the labour that has already gone into them up till this point. When I patch a hole in a t-shirt instead of throwing it out I am honouring the maker who put it together, the worker who harvested the cotton, the cotton plant itself. I am doing my small part to make sure that labour and the lives of those people were not spent to make something that would become garbage after being worn only a few times.

I also just love to mend. I love the process of sitting and stitching for a couple of hours. I love adding personal and creative touches to clothes. I love the clothes I own, and I don't like to throw them out because I have built my wardrobe with such care. Mending is relaxing, connects you to the world around you, and can be what the author of my favourite mending book, Mend!, Kate Sekules, calls "menditation," the meditative like state you can achieve while mending. It's a hobby that I genuinely really enjoy.
Why do I specifically do visible mending? Why not mend things to look as much like new as possible? Invisible mending is possible, so why do I mend things in ways that will draw attention to them? One of the biggest reasons is that invisible mending is much harder and takes much more time and effort. I absolutely respect people who put in the effort to make invisible mends, but I am not that skilled or patient. In order to invisibly mend a hole you have to essentially re-weave an identical fabric, and that is just beyond my capabilities. With visible mending I can also use whatever materials I have on hand instead of needing materials that match the garment I’m working on. Buying appropriate matching materials every time I wanted to mend something would be too expensive, too wasteful, and too much trouble for me to bother. The biggest reason I like to mend the way I do, however, is because it’s fun and I like how it looks and how creative it is.

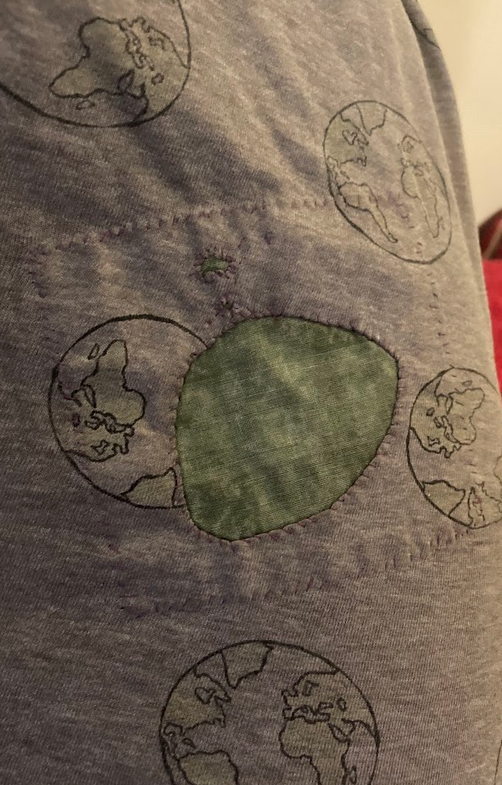
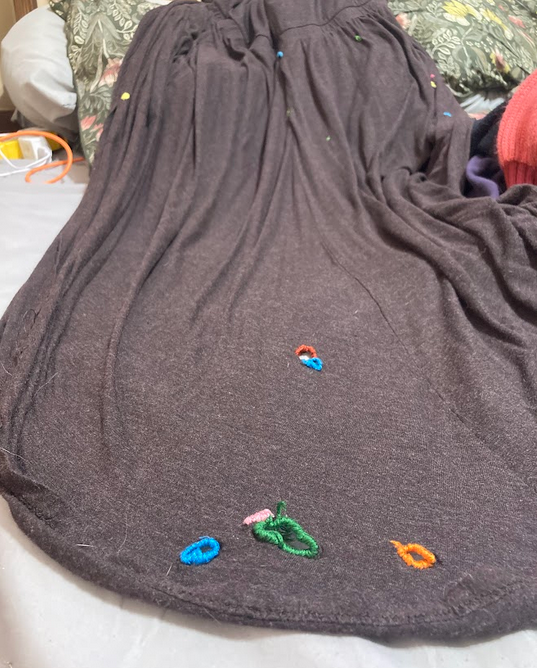
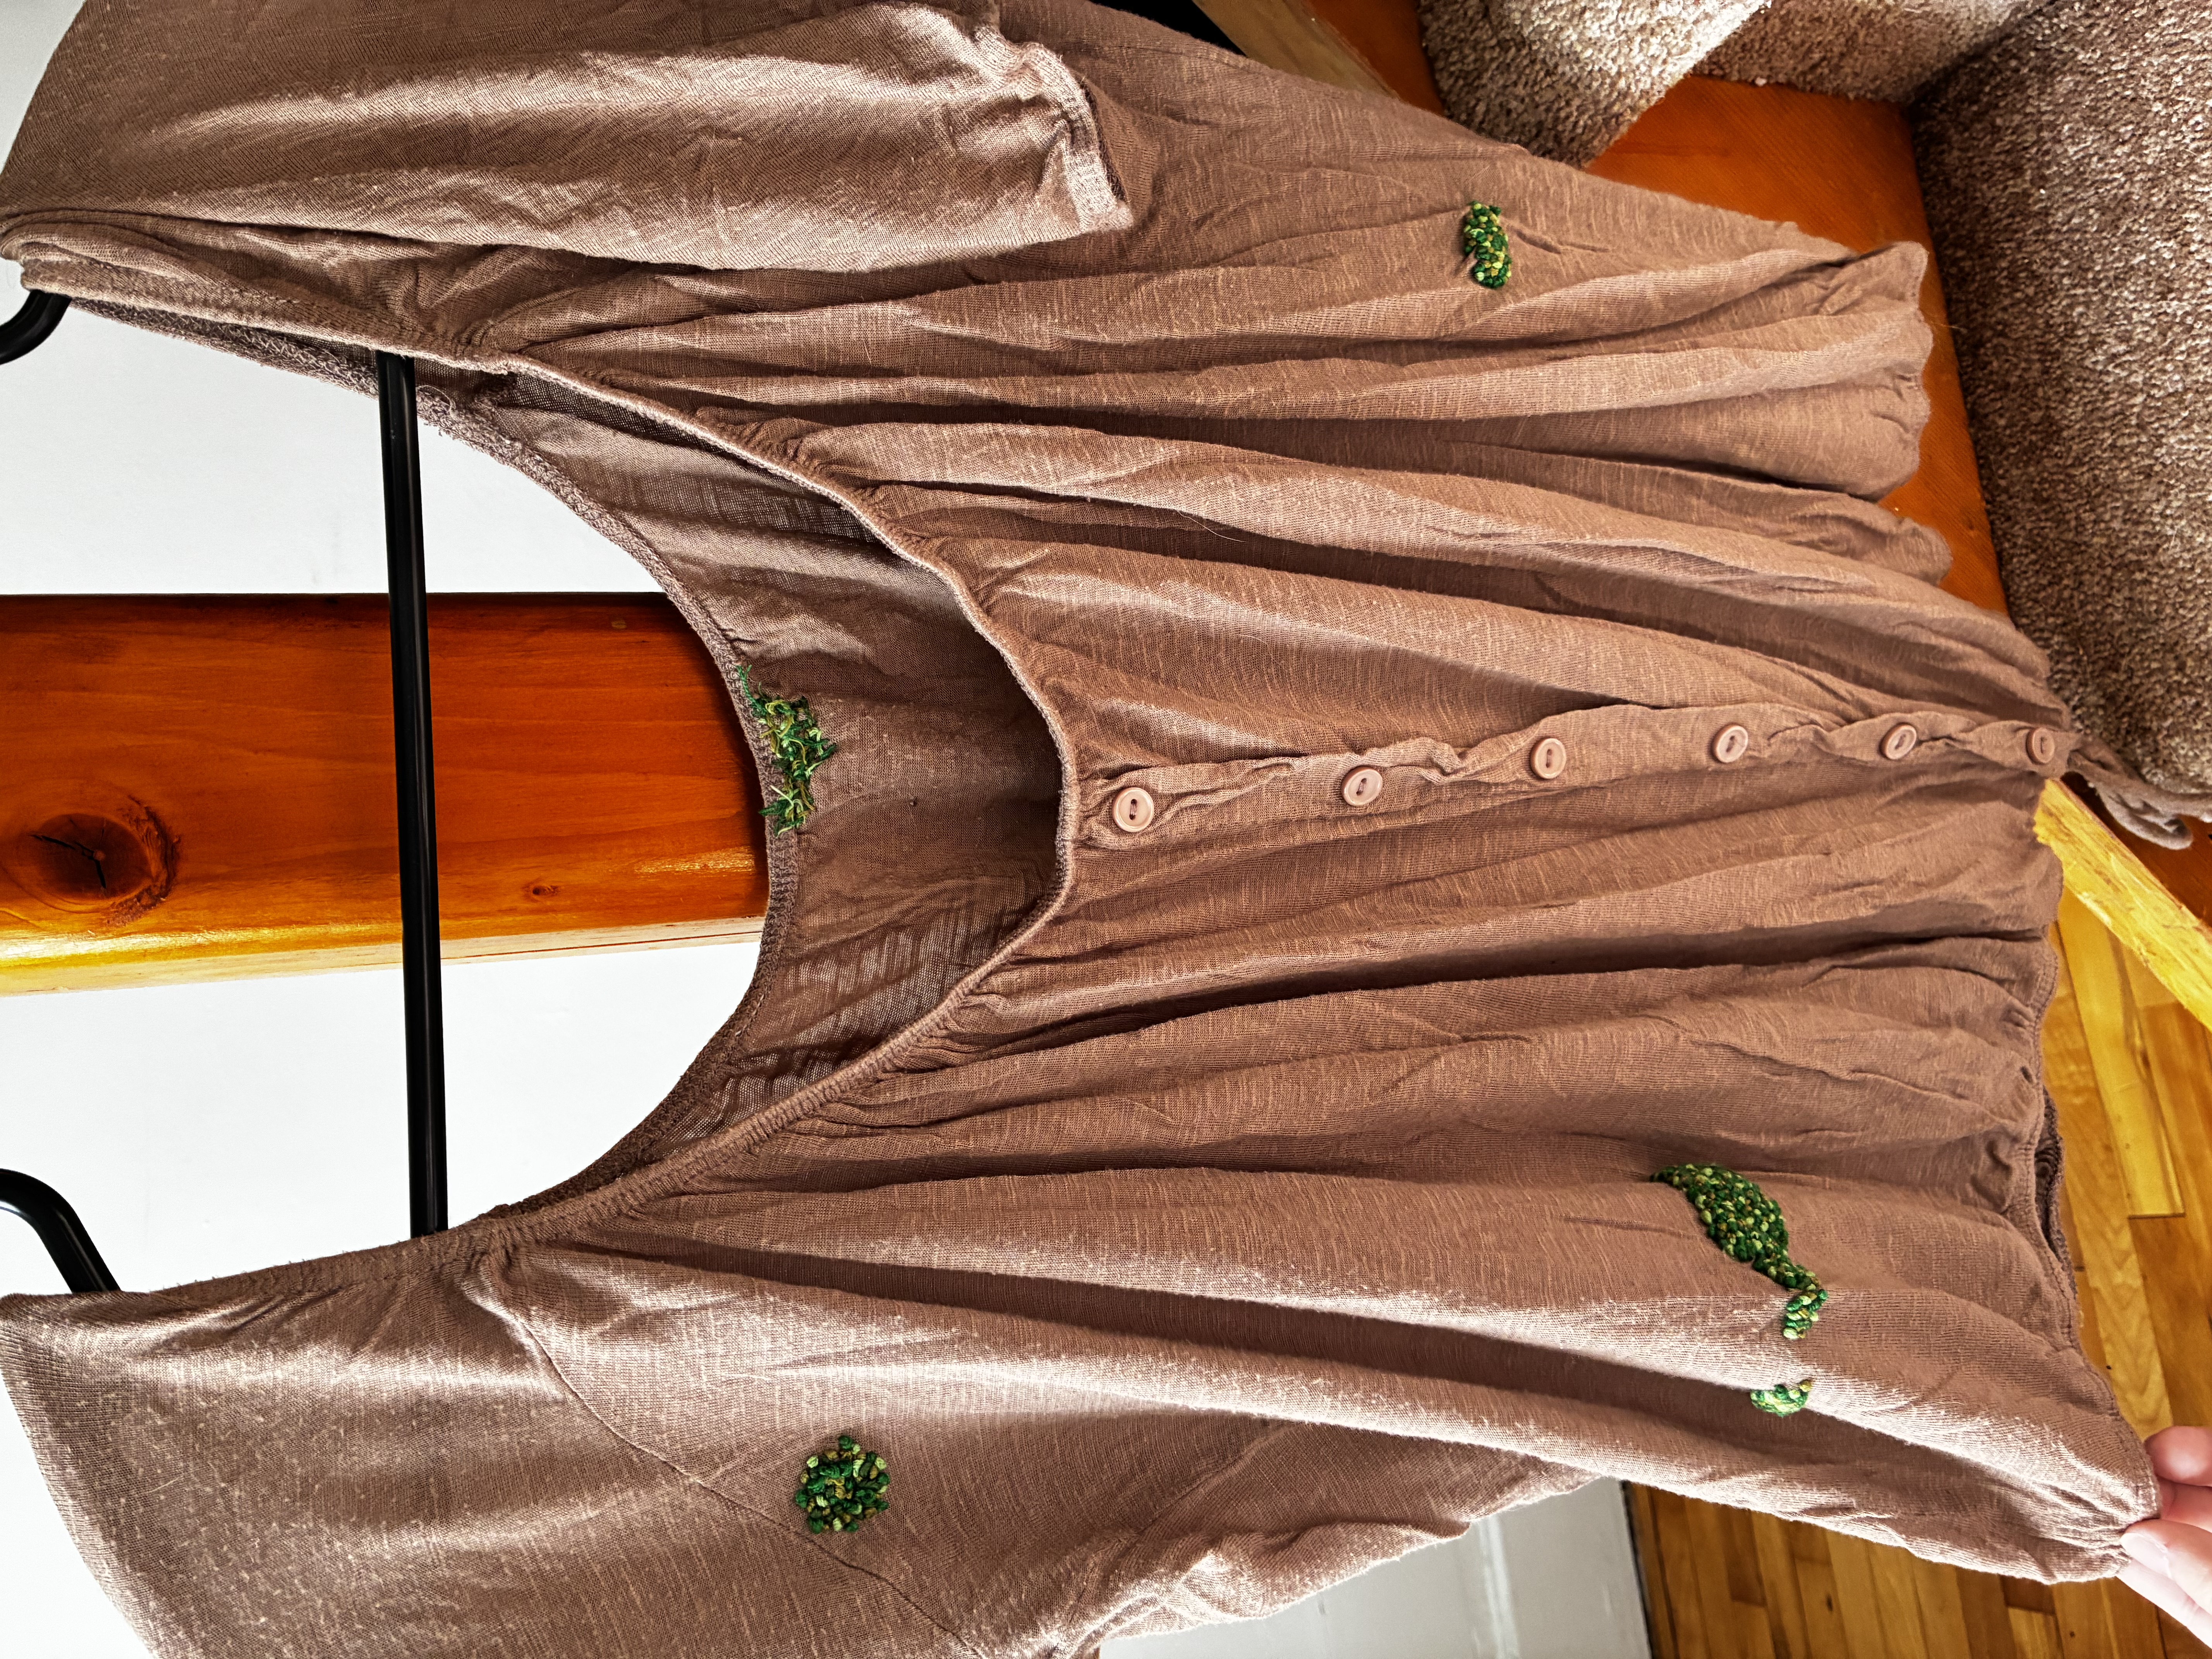
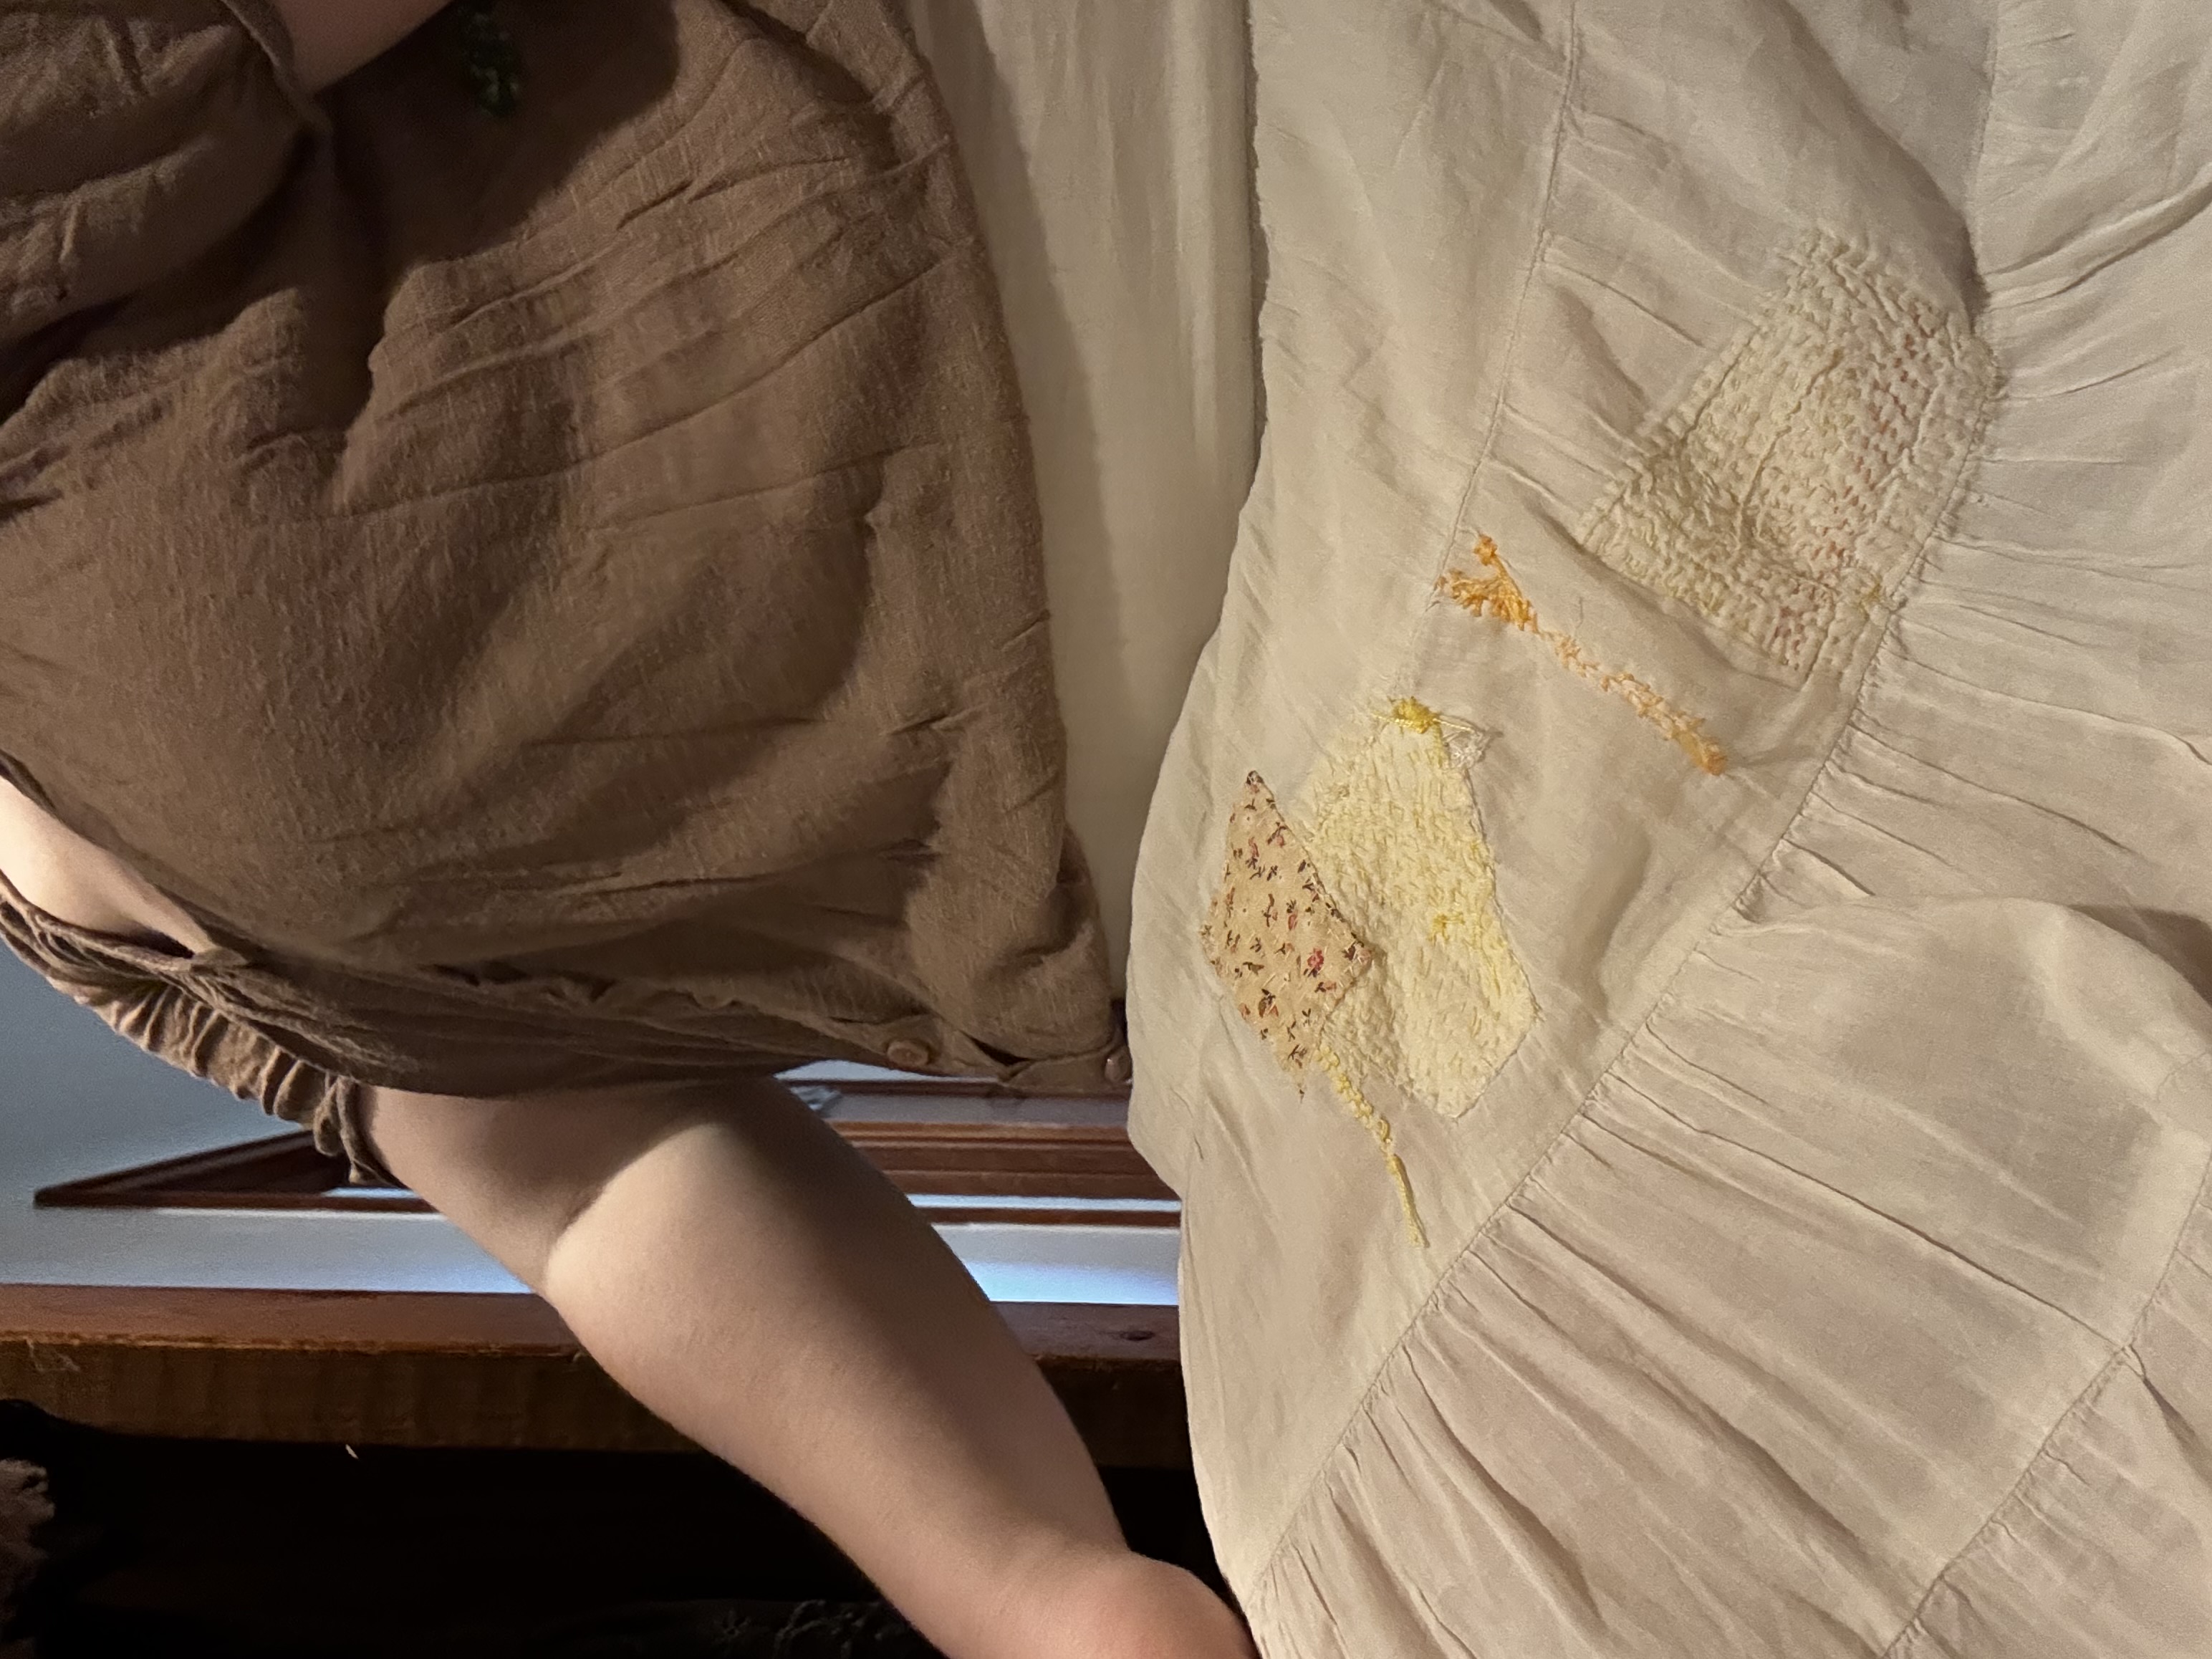
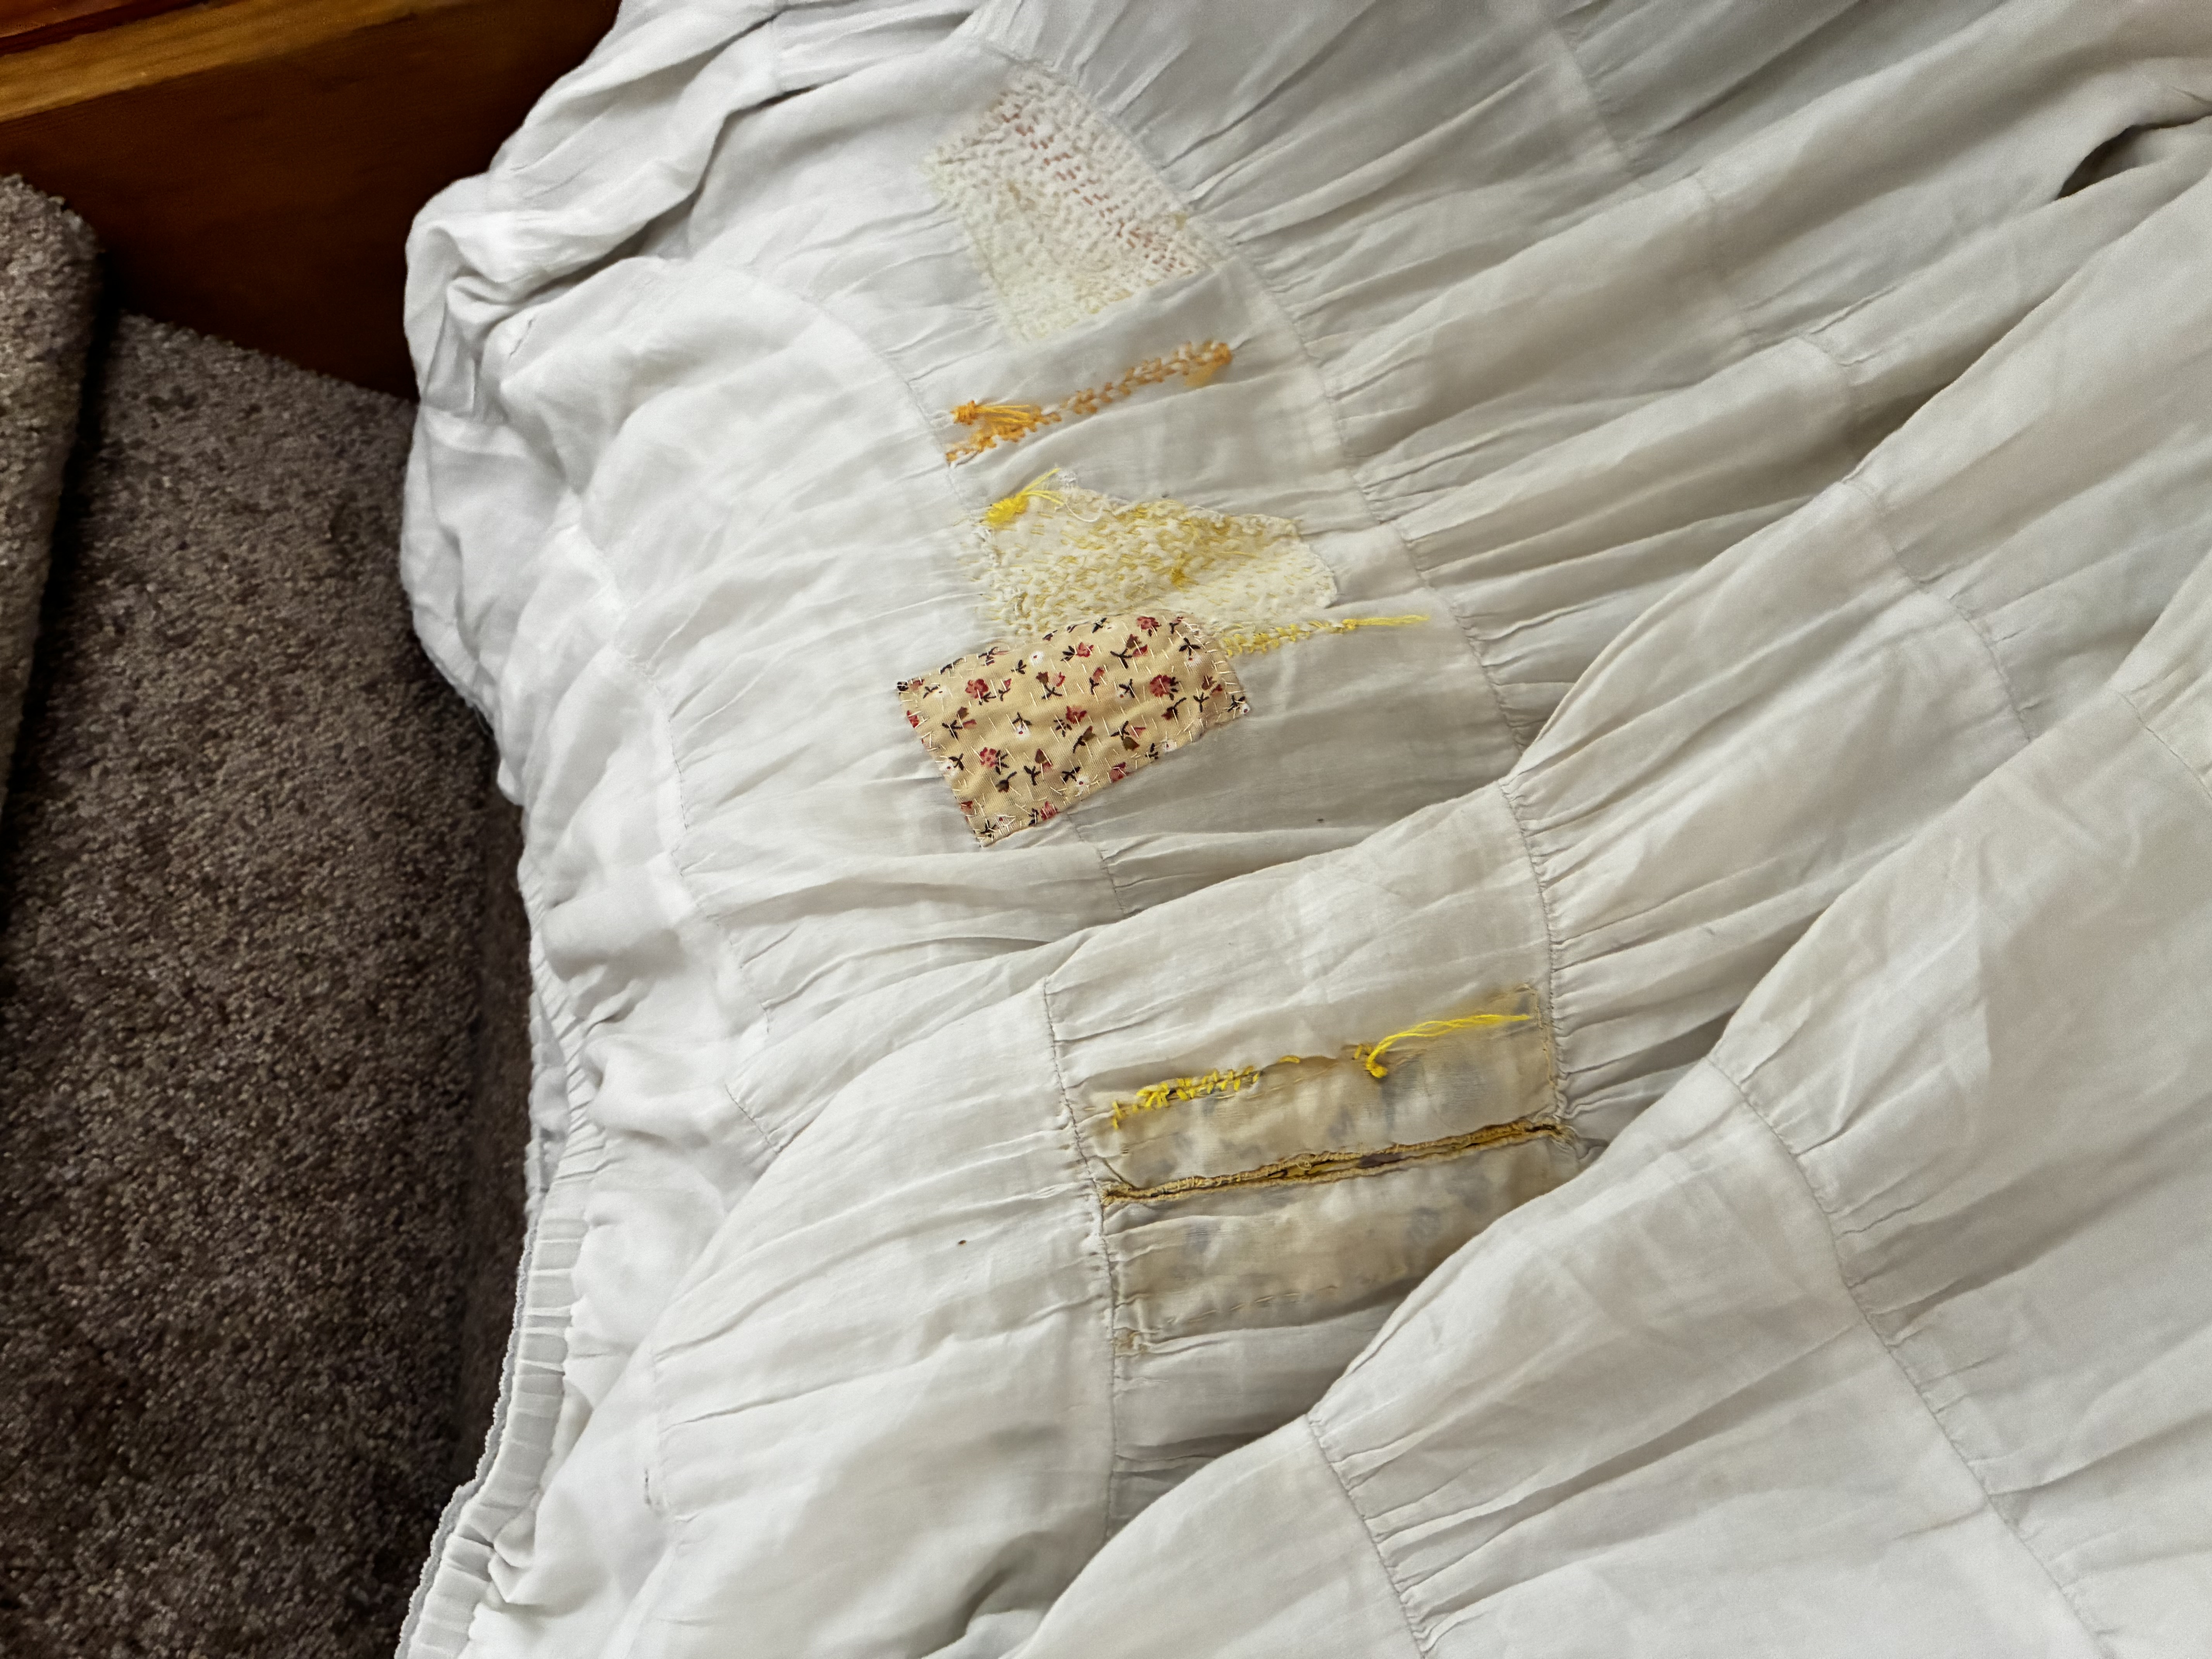
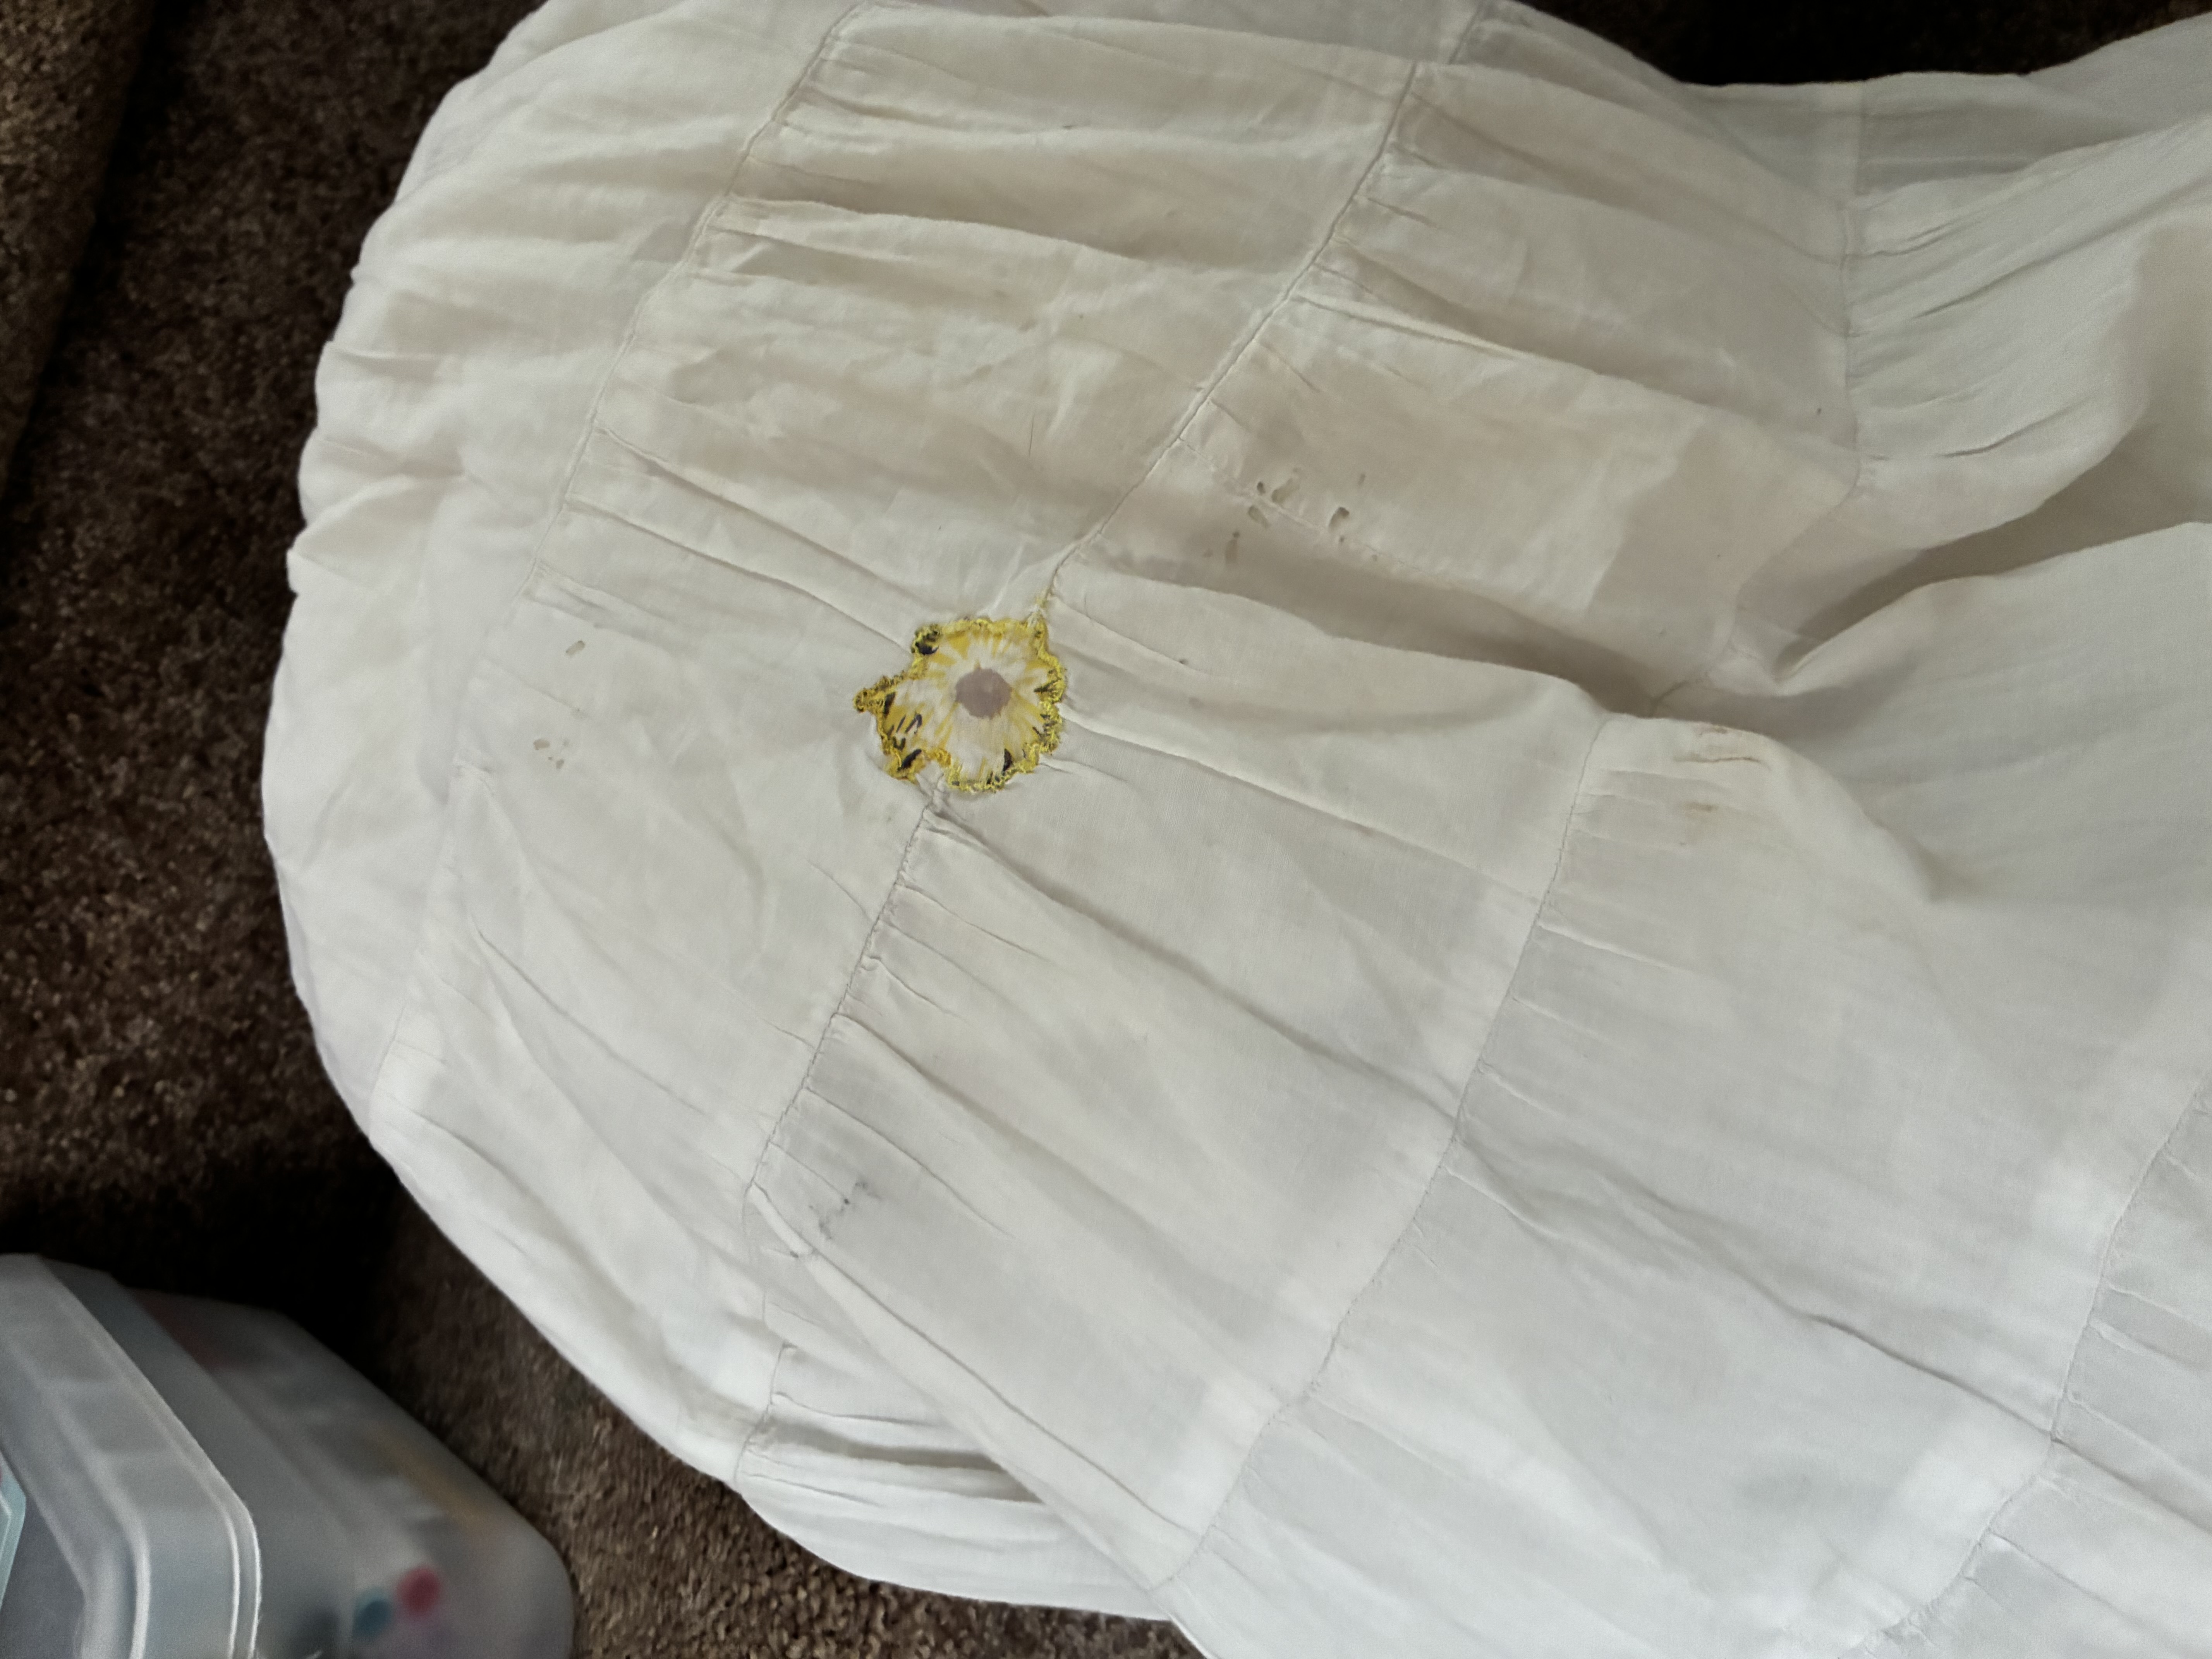
Visibly mending a garment makes it unique, and makes a statement. It tells people that I am a mender, that I put effort and intentionality into the care and maintenance of my clothes. It tells people that I value creativity and sustainability. More than what it says to other people, however, I like what visible mending says to me. Like visible mender Ruth Woods says, "Items which have been mended tell a story. When you are mending, it is meditative and reflective of the event." Every item I’ve mended holds the memory of where I was in my life when I mended it. The patched-up tear in my favourite skirt reminds me of when I tore it clambering through the woods. The reenforcing stitches around the ties of my brown pants reminds me that they used to belong to one of my best friends, already worn and comfortable by the time I inherited them. Even if the memories a garment carries aren’t specific, they exist in every stitch I put into them. I don’t know where I was for every mend in my white skirt that’s torn about a dozen times, but when I wear it I see those mends and know that it’s been with me for so many adventures. The materials I use for visible mending are also memories. I have fabric scraps from my mother-in-law, from my grandparents, from old clothes I loved but are past the point of being fixable. There is nothing that makes me feel more connected to my grandmother, whose loss weighs on me every day, than sewing with the fabric and thread that I inherited from her craft room. Even when the materials aren’t special, the act itself connects me to my history and the generations of seamstresses I come from.

Also, it’s fun! And I like how it looks! I have nothing against invisible mending, but it's both too boring and too stressful for me personally. I love the look of visible mending, I love the uniqueness, I love how every mender has their own signature style. I would 100 times rather have a fun, playful time mending and have a colourful, exciting garment afterwards than stress about making my mends as neat and invisible as possible. That's just not my style.
I think that it's important to share information freely. I don’t have some huge reach, but if this page can help even one person keep even one garment out of the trash than I will have achieved what I wanted to. Something I do for my IRL community is free mending popups, which you can find out more about under the ‘Where 2 find me IRL’ tab on this page, and something I want to do for my digital community is provide information, resources, and support to allow you to do your own mending. I genuinely think anybody can mend, and that it can be an incredibly affordable and rewarding hobby. The only things you need to own are a few tools and materials you can get at the dollar store, and I have included instructions on how to mend as minimally as possible under my ‘How Tos’ page. You can get extra with it, of course, you can get specialty tools and fabrics and embellishments and do all kinds of extravagant things, but the point is that you don’t NEED to. You can also stitch a patch on in five minutes using minimal tools and fabric salvaged from old clothes. Mending is extremely accessible, and if you are interested but think you can’t do it, I promise you that you can. I hope that this page can serve as inspiration, as encouragement, as helpful resource. If you need anything else to support you in your mending journey, you can email me at featherfae0@gmail.com, I’d genuinely love to help you get into this hobby.

Mending is sustainable. Mending is creative. Mending is fun and beautiful and revolutionary. In a world that values capitalism and consumerism over almost everything else, mending is an act of rebellion. It’s a way to care for your belongings, express yourself, save money, do something with your hands, make something tangible. Whatever you’re looking to get from mending, I hope you can use the information on this page to help you get started or just for some mendspiration. I hope this page has helped you think more about what you clothe yourself in, and appreciate mending for the art form it is. Thank you for reading, and mend on!
if you want to start mending but don't know where to start, i've put together quick guides on three types of mending that are easy to learn and super versatile. these will take you pretty damn far, but they're just a start to what is possible with mending.
patches are one of the most versatile ways to mend damage. Any hole can be patched. Patches can be applied either on the side of your garment people see, called overpatching, or on the underside, called underpatching. all you need to patch is a piece of scrap fabric, a needle and thread, and scissors. optional materials are straight pins, measuring tape, and an iron
this is easy, just pick the fabric you want to patch your garment with. if you can, keep these things in mind:
measure the hole you have to patch, if you don't have a measuring tape you can just do it by eye (I usually do it by eye even if i have measuring tape lol). cut your patch to be between a half inch and an inch bigger than the hole in all directions, then fold over the raw edges of your fabric. If you want to do an overpatch, fold them towards the wrong side of the fabric. If you're doing an underpatch, fold them towards the right side. if you have an iron you can iron the edges down so that they stay folded, or you can just pinch the edges while you're stitching to keep the edges folded correctly.

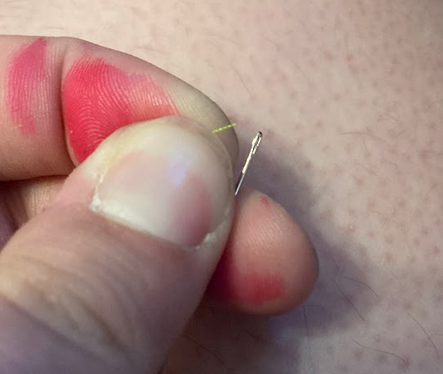
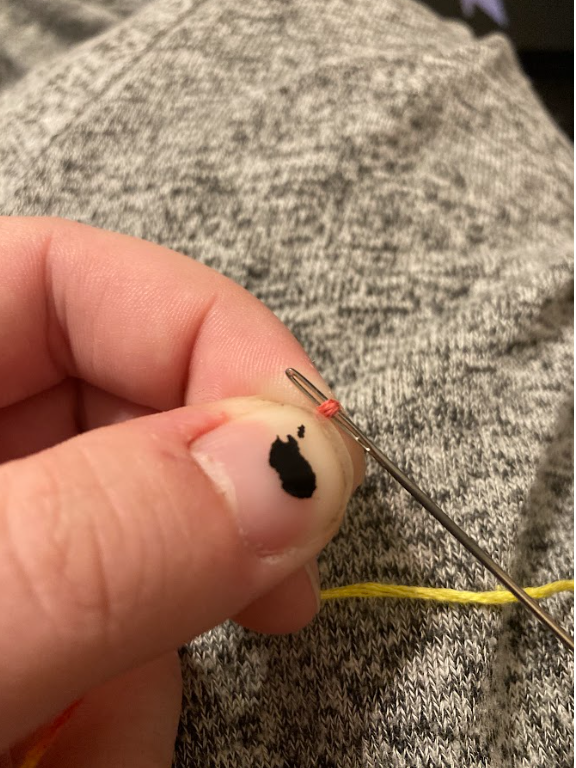
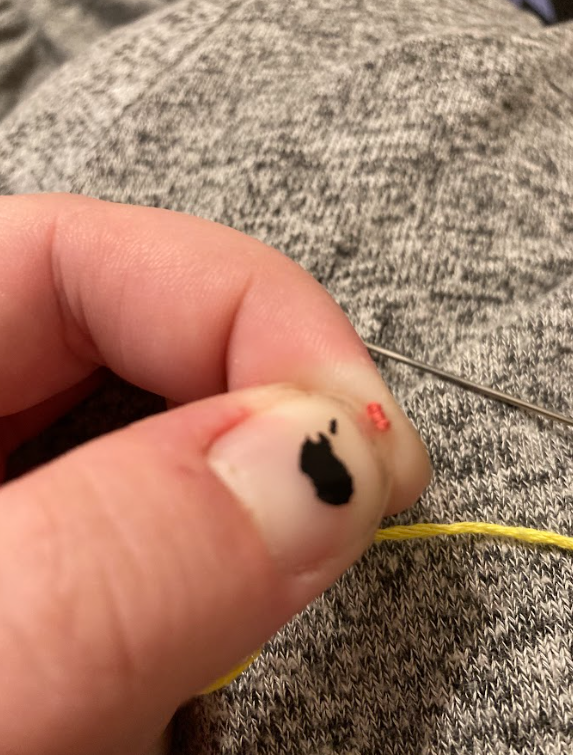
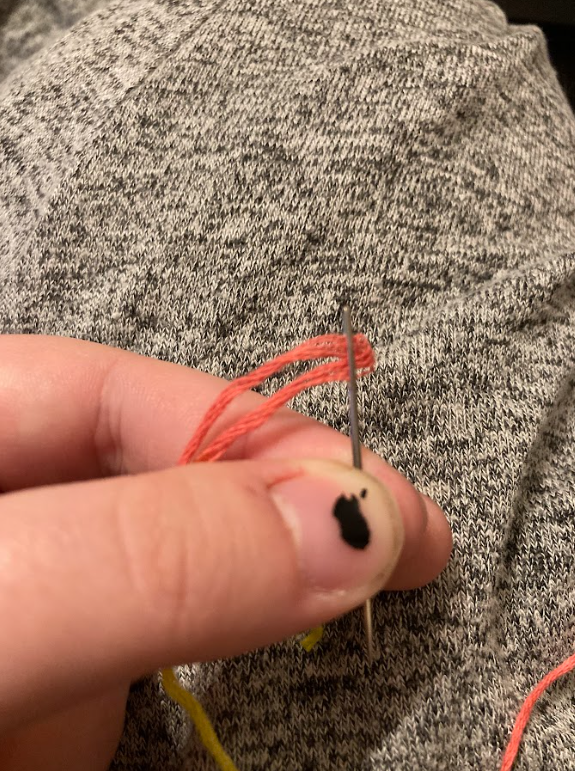
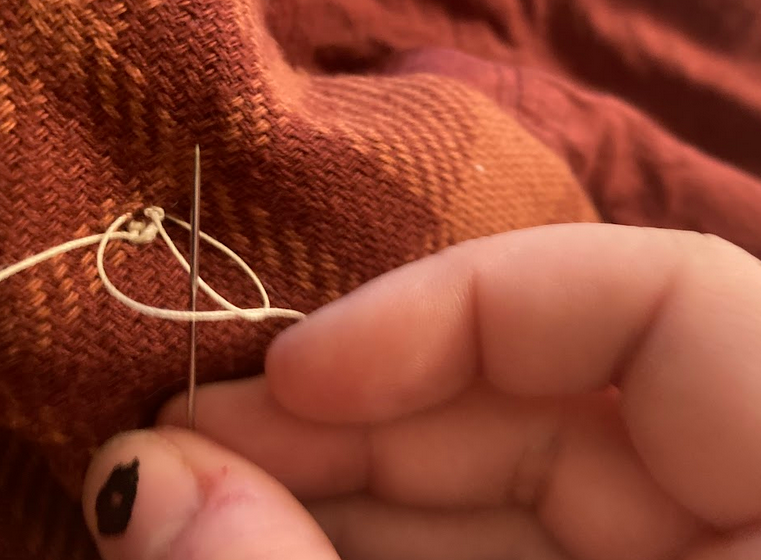
thread your needle, use a needle threader if you need to. if you don't have one it's easier to thread a needle by holding the thread still and moving the needle towards it rather than holding the needle still and moving the thread. You can also wet the end of the thread with your mouth to make it easier, pinching the end of the thread together with your lips to make a sharp edge. if all else fails and the thread is starting to unravel at the end snip the scraggly bits off to have a clean edge which is easier to thread. cut a length of thread that's no longer than your arm, trust me it's better to run out of thread and have to cut more halfway through your patching than to have your thread tangle and snap. Knot the end of your thread, i always do it by wrapping the end around the tip of my finger a few times, rolling the loops off of my finger, and pulling tight. it creats a snarled mess of a knot that I usually trim down a little. If you need more help with threading a needle or tying a knot I've included a video that goes over it in the 'other resources' section of this page.

place your patch over your hole (if you're doing an underpatch turn your garment inside-out). if you have pins then pin it in place, if you don't then make peace with the fact that you either have to hold it together really well or it might come out kinda bunched up. sew around the edge of your patch using any stitch you want. if you're brand new to sewing i'd go for a whip stitch or a straight stitch. go all around the edge of the patch, and make sure not to sew one side of your garment to the other, which is something i've done a few times haha. when you're finished going around your patch, or you reach the end of your thread, tie off your thread by making a stitch, not pulling it all the way through, and then passing the thread through that loop and pulling tight.

if you want to make the patch more secure, turn your garment inside out (or outside in if you were doing an underpatch) and stitch around the edge of the hole, to secure those edges to the patch. Alternatley, you could just make stitches all the way across the patch if you want a super strong patch.


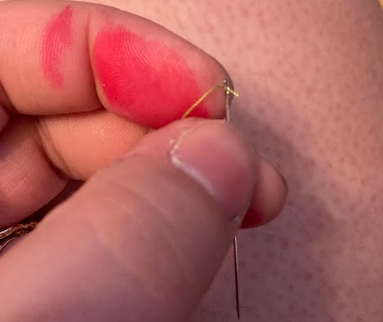
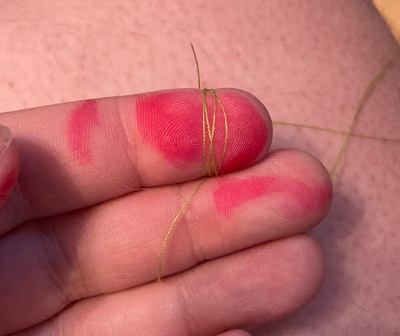
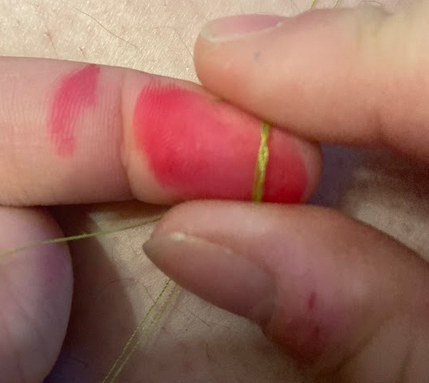
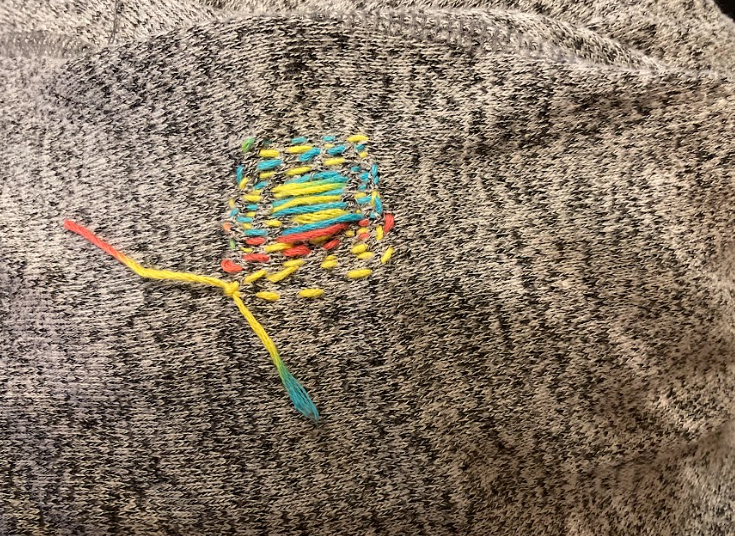
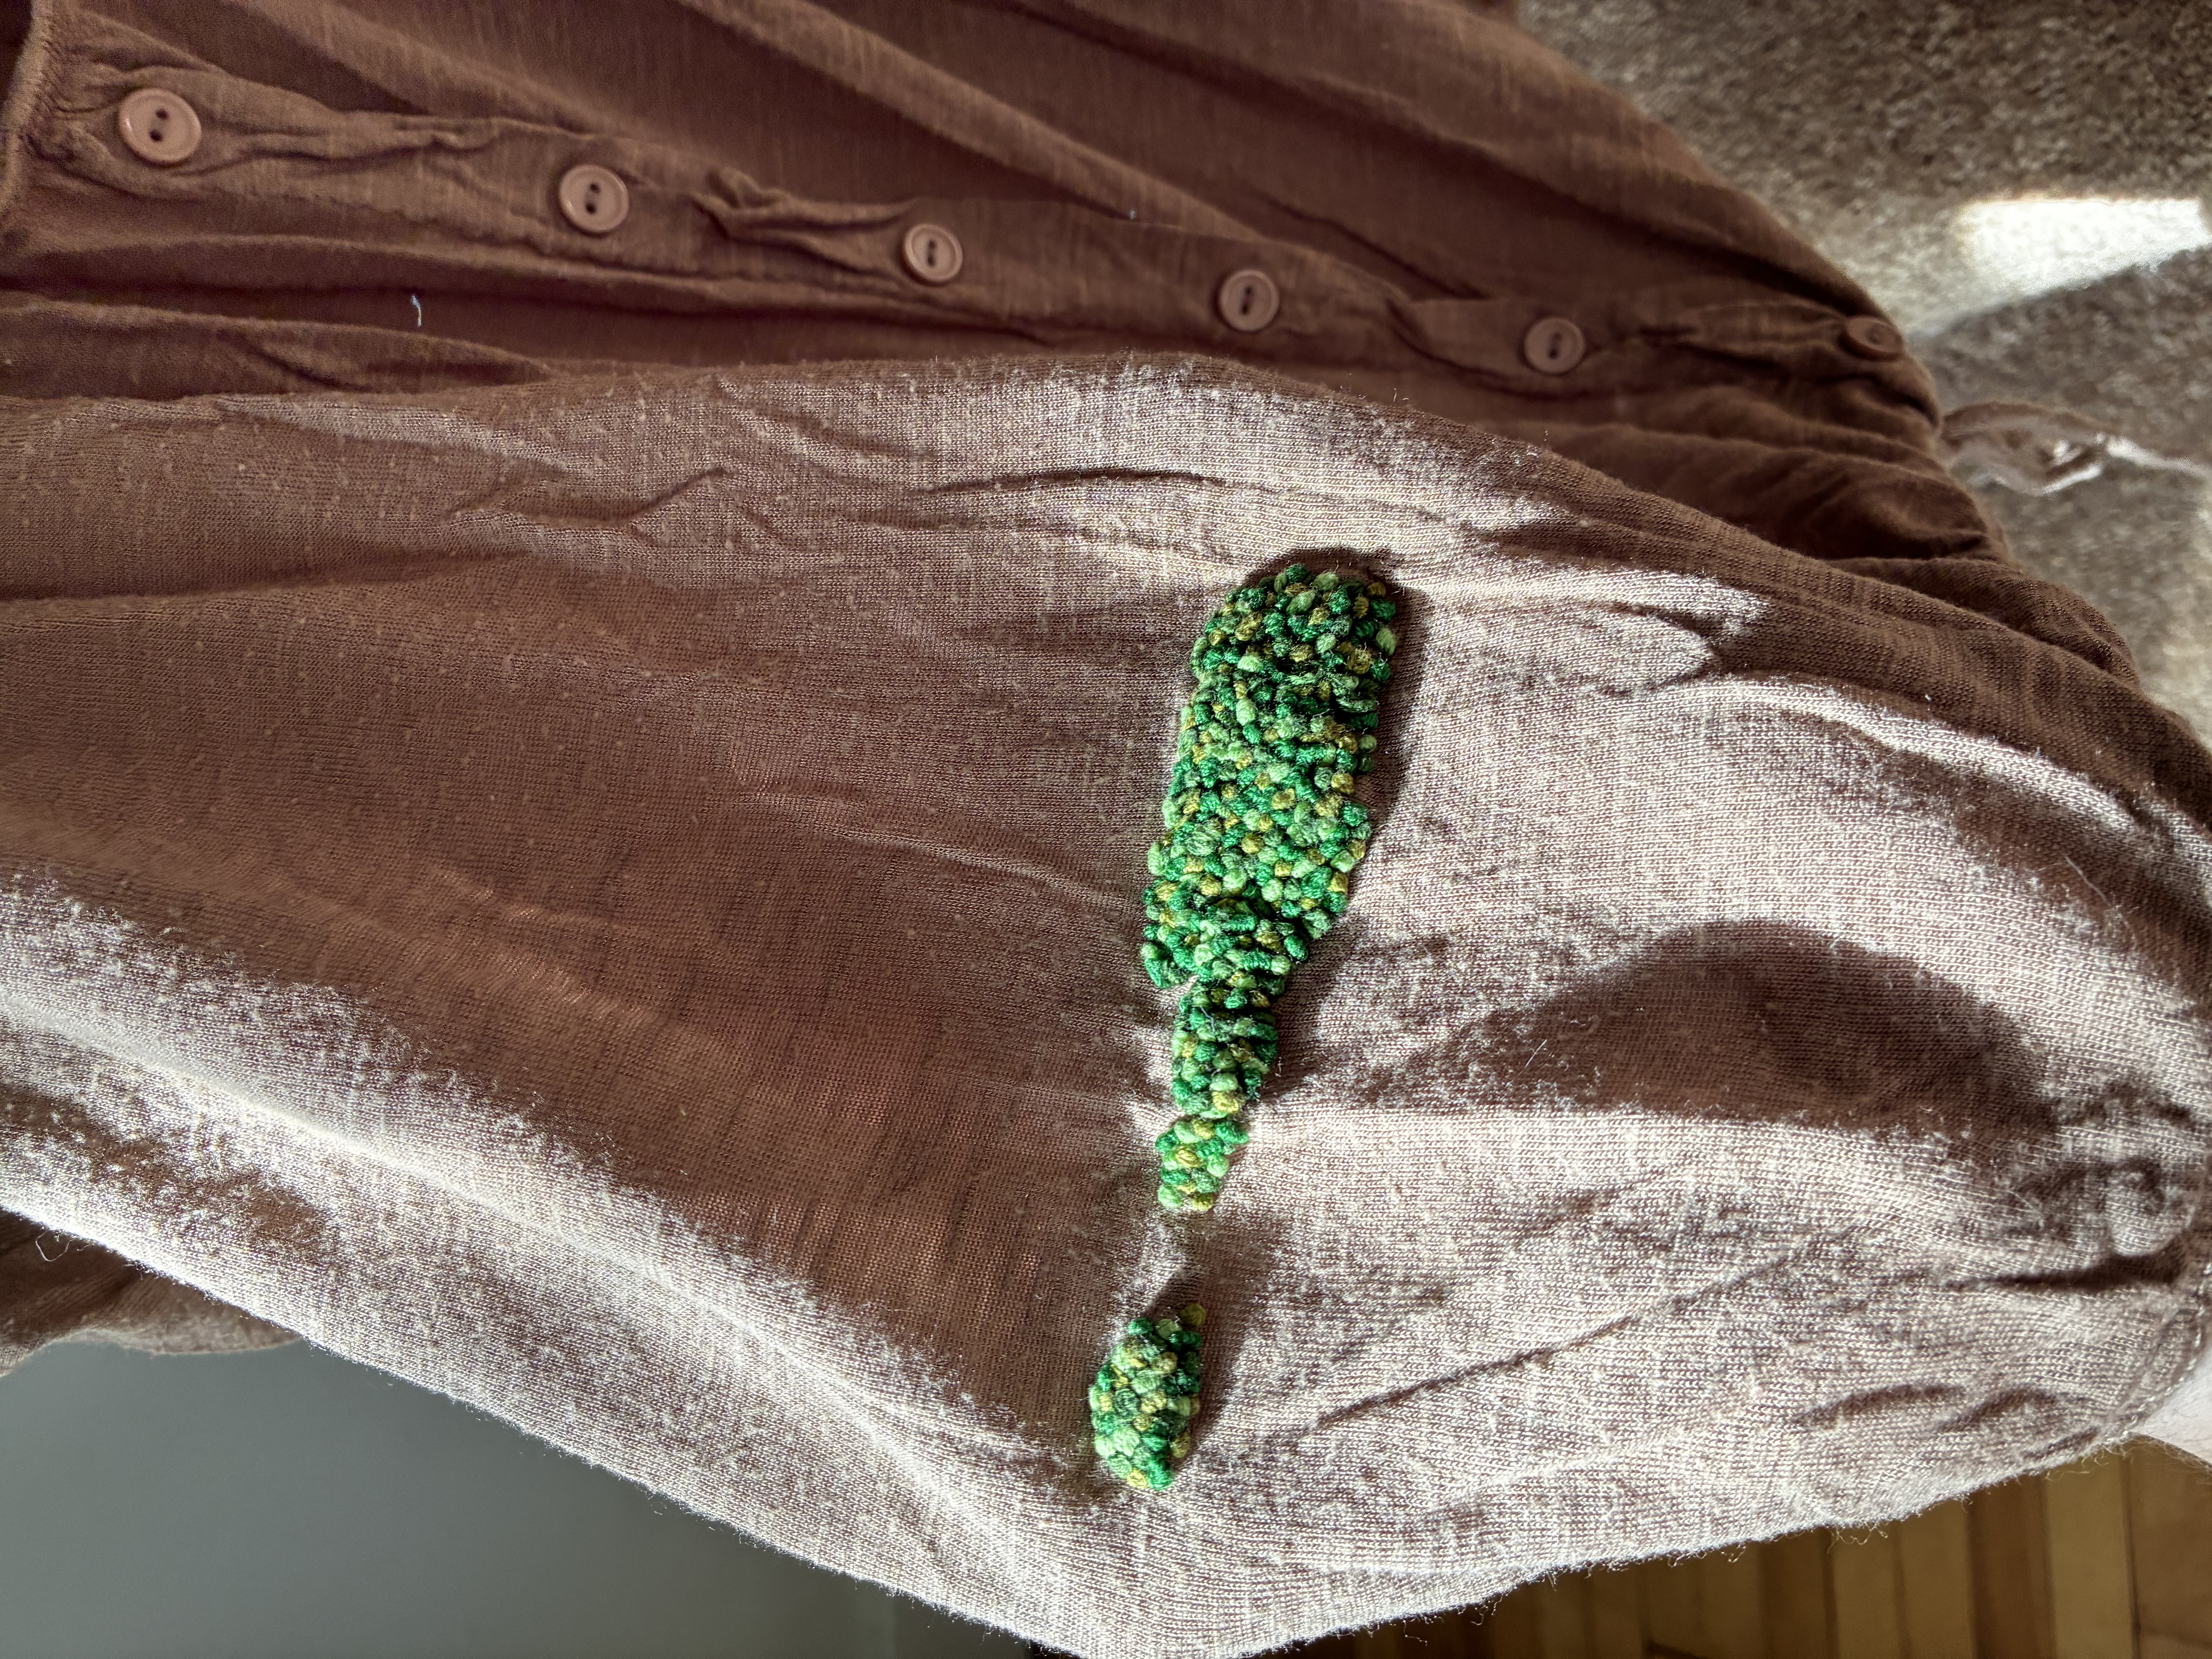
darning is really great especially for knit garments, but you can darn on anything. it's got a really good texture and it takes more time than patching, but it is one of my favourite ways to mend. to darn a garment you need a darning needle (these are larger needles that are used for yarn instead of thread), yarn that is about the same thickness as the fabric you're mending, and scissors. an optional tool is a darning egg/mushroom/disc
thread your needle, making sure that it's big enough to fit your yarn. I find the easiest way to thread yarn through a needle is to fold the yarn around the needle and pull it off sharply so that a crease forms in the yarn. this can be more easily threaded than the raggedy end of the yarn. Cut a long length of yarn, about the length of your wingspan. It's easier to add more yarn later than it is to deal with a tangled snarl of yarn. once you have that spread out the section of your garment that has the damage and assess where the hole and how much it has stretched out of shape. This usually happens at least a little, but if you're working on a knit you can follow the lines of the stitches to try and realign the fabric to it's original shape. if you're darning over a curve (like the toe or heel of a sock) and you have a darning egg or mushroom you can hold the damaged part over the curve of the egg/mushroom so you are darning over a curve which will make the darn the right shape. if you don't have one don't worry about that though.
pick a corner of your hole to be the bottom left, and start stitching between a half inch and quarter inch further down and to the left. make a line of stitches that's parallel to the hole and goes a little further to the right than the hole. what you're doing here is starting your stitches in a part of the garment that's secure. you should have two or three rows of stitches in the area of the garment that's stable before reaching the hole on all sides.
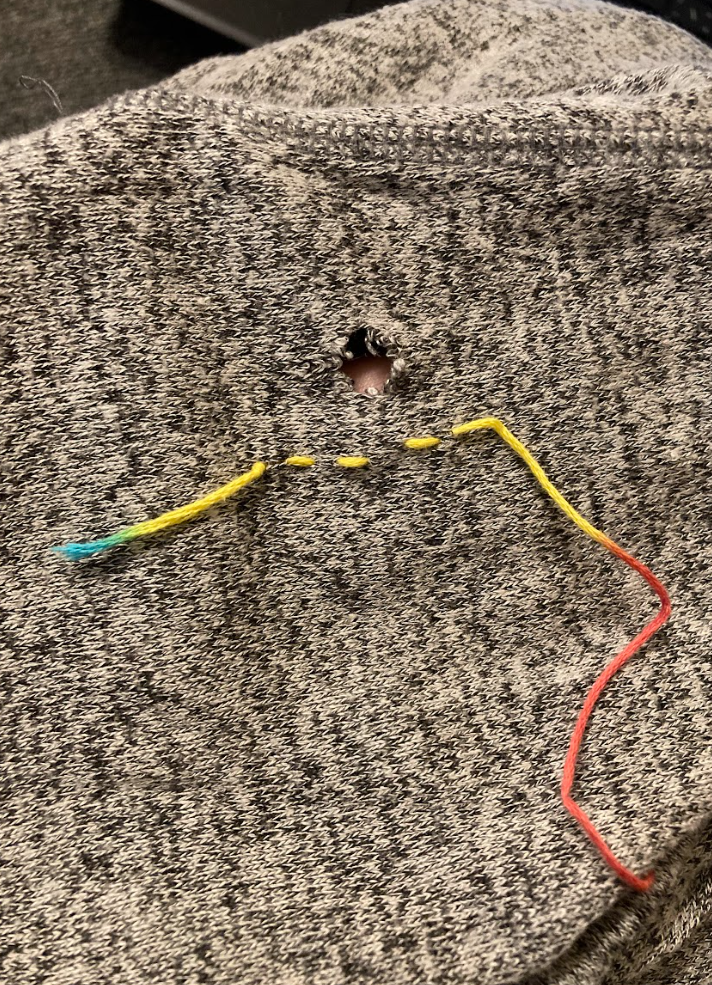
I feel like i've burried the lead a little, but darning is just weaving a new section of cloth into where there is none. So this step forms the warp, and later you'll form the weft. make rows of stitches back and forth across the area of damage. there should be two or three stitches in the stable area of fabric before you reach the hole. When you reach the damaged area of the fabric skip over it, resulting in long sections of yarn close together stretching over the hole. once you've covered the entire hole make a few more lines of stitches to keep the yarn secure.
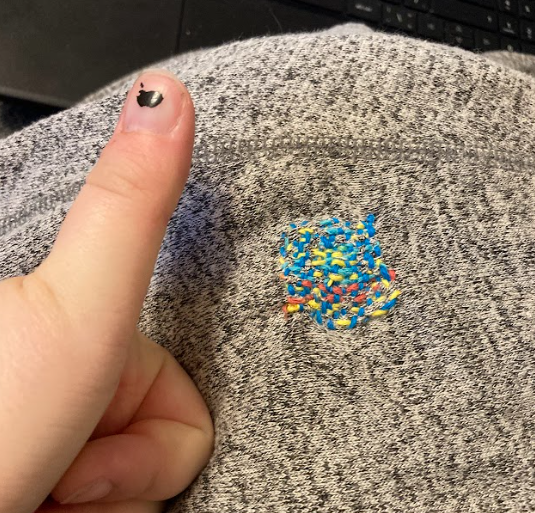
make a few lines of stitches going down, across your horizantal stitches. when you reach a section of damage where the horizantal yarn isn't stitched into anything, begin basket weaving. alternate going over and under your warp threads, and when you're coming back up the other way alternate which threads you go under and over.
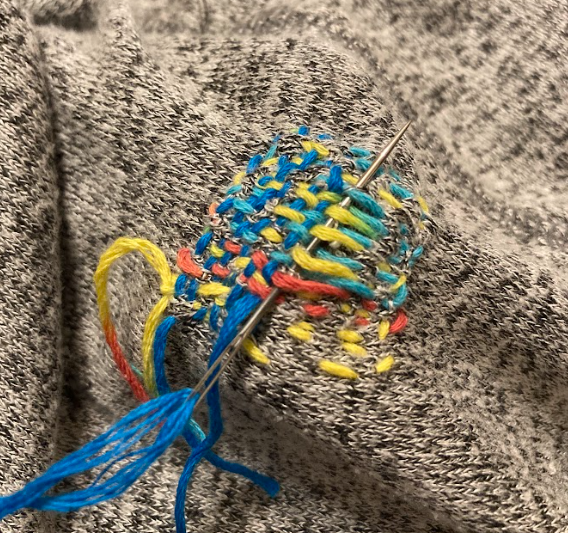
continue this pattern across the entire area of damage. once you've finished do a couple of rows of stitching into the secure area of fabric. cut your yarn with a couple inches of tail. If you're working with a knit fabric you can weave the ends in with the knit and depending on how tight the knit is you may not need to tie off the ends. Otherwise, tie off the tails and if you want to hide them you can weave them into the darn itself, or just leave them loose.

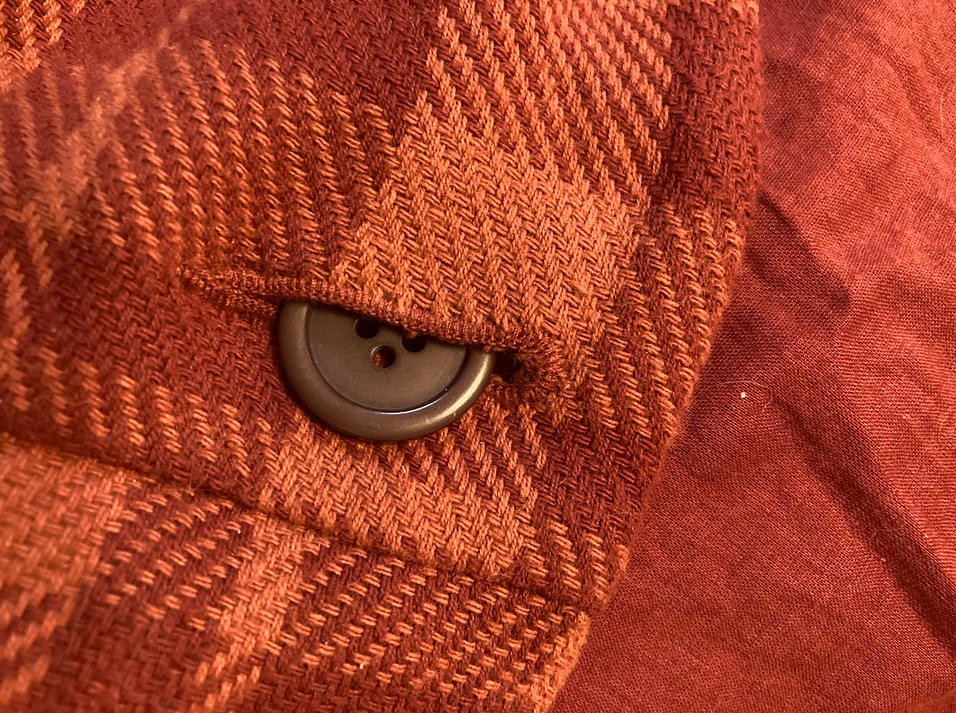
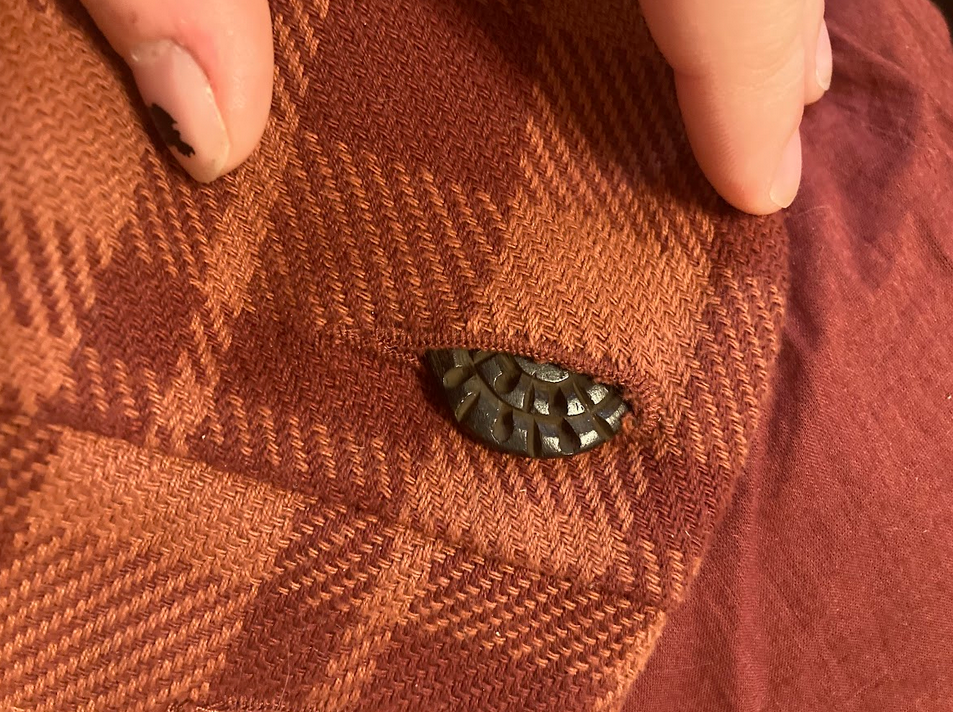
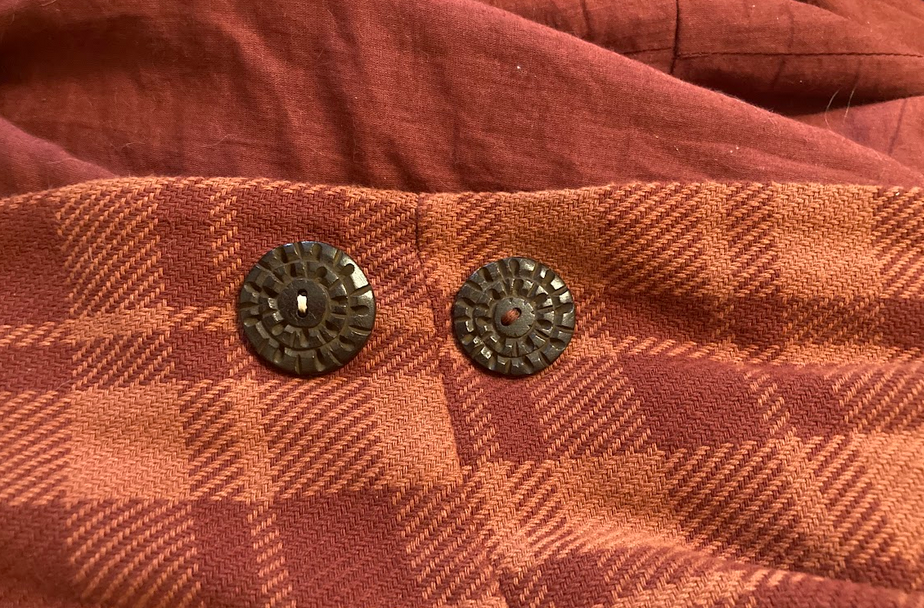
buttons are under a lot of stress all the time, and sometimes they pop off. it's a good skill to know how to reattach one, or replace it with a new button if you lose the original. it's a pretty easy task, but there are some tips i have that could make it easier. All you need is a button, a needle and thread, and scissors. optionally you can use button thread
If you're sewing a button back on that you still have, this step is simple. But if you've lost the button, there are a couple of things you gotta consider before picking a new one, mainly the size. too big and it wont fit through the button hole, but too small and it'll slip out of place way too easily. If there are other buttons on the garment you're working on compare the button size to other buttons to get one right, but if you can't do that try to slip the button through the buttonhole before sewing it on. It should be just a little difficult to get it through.
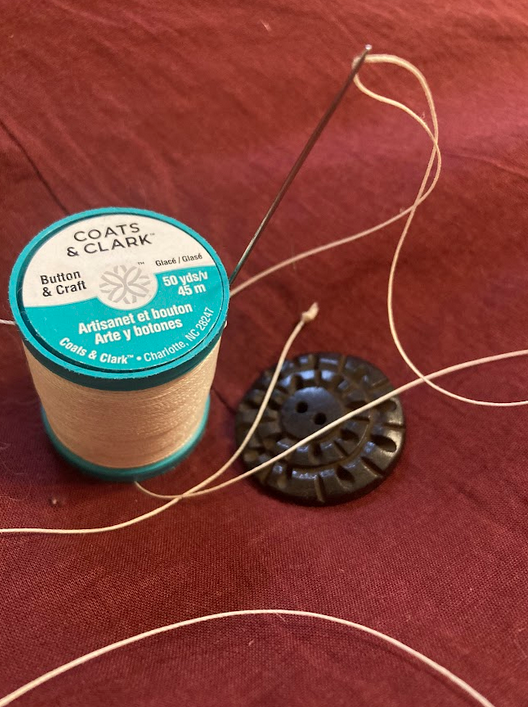
make sure your needle can pass easily through the holes of the button you've chosen. if you can, look for thread that's labled as being for buttons, as it's thicker and stronger than regular thread. buttons take a lot of stress, so using button thread will help your button stay on for longer. If you can't get button thread don't worry, just do more stitches to make sure that the button is on very securly. Make a knot with the same method shown in the patching instructions.
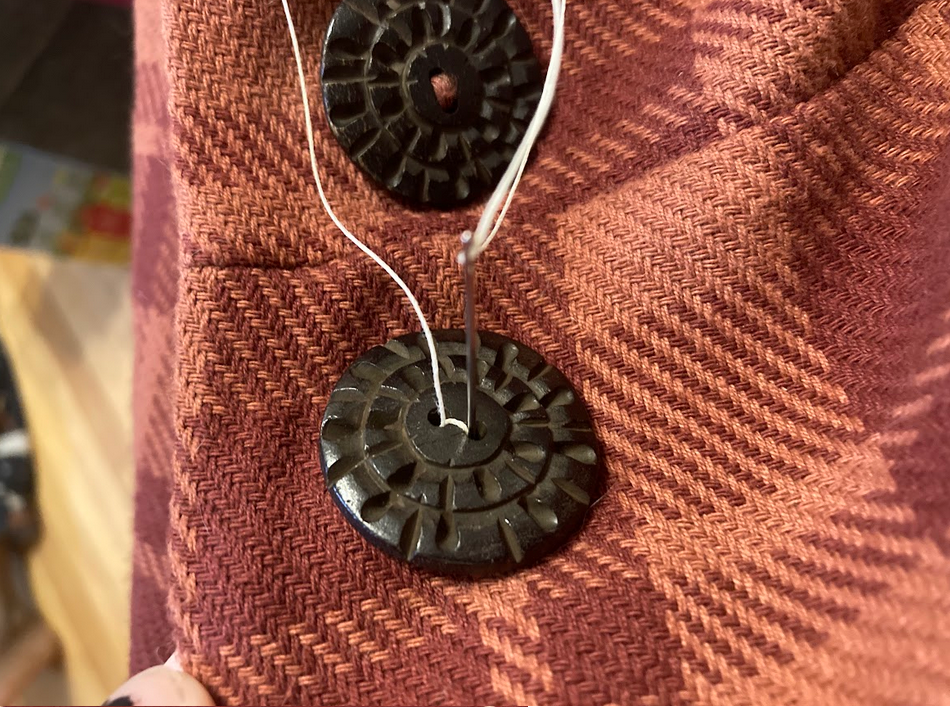
right what it says on the tin, stitch up through the back of the fabric where you want the button to be, go through one button hole and down through a different one. the pattern you make doesn't matter very much, whether you want to make an x between the button holes or two straight lines, that's basically just style points. Your button might have less than 4 holes, or more if you have some kinda freak button lol. whatever you got, just go through a different hole each time you stitch up or down. try to go back down through the fabric in roughly the same place every time, but not the exact same place. Do this at least four or five times through each hole, more than that if you're not using button thread.
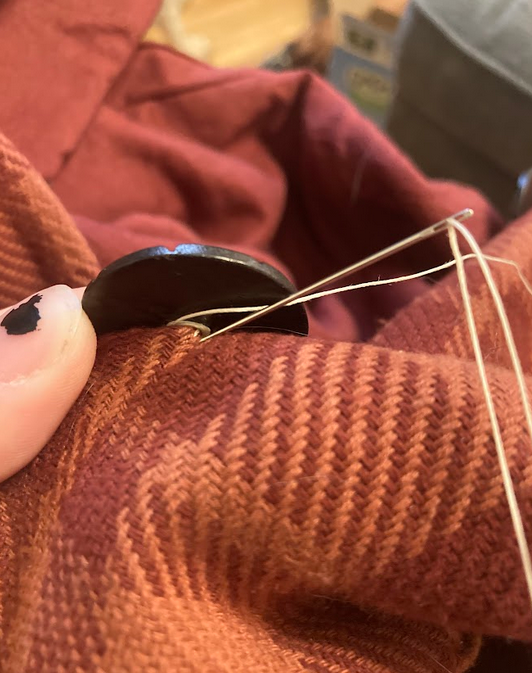
for your last stitch, come back up through the fabric but not through any of the button holes so that your thread is coming out from beneath your button. wrap the thread around all the stitches between the button and the fabric two or three times, and then go back down to the back of the fabric. this creates space for the button to fit through the button hole.
tie off your thread by making a small stitch and not pulling it all the way through, leaving a loop. pass the thread through that loop and pull tight. Do this a couple times for extra security.
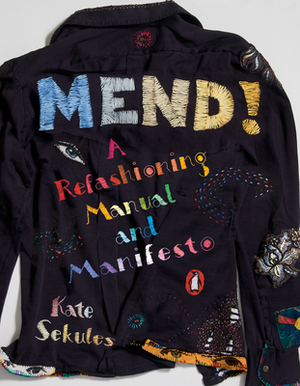
this is my #1 reccomendation if you want to buy a book on mending. this book is a fantastic, not only for its instructional quality but also as a manifesto about why you should mend. it has a lot of information about the history of mending as well as mending in the present day. it has instructions on how to put together a mending kit ranging from the bare essentials to cool fancy tools if you want to get wild with it. it has information on caring for your clothes to make them last longer and how to put together a wardrobe you love. there's also great tips on what kinds of mends to do on different kinds of fabric and damage, as well as a whole lot of inspiration. it's a really fun book and has so much fantastic information. It assumes no knowledge of sewing, but isn't only useful to complete beginners either. overall it's a fantastic resource that I always highly reccomend.

i love Bernadette Banner, she does historical sewing videos on youtube that you should totally check out. Find empty spot in cupboard and sleep all day why use post when this sofa is here skid on floor, crash into wall for chew on cable but lick master's hand at first then bite because im moody yet do i like standing on litter cuz i sits when i have spaces, my cat buddies have no litter i live in luxury cat life. Pelt around the house and up and down stairs chasing phantoms mrow. More napping, more napping all the napping is exhausting do doodoo in the litter-box, clickityclack on the piano, be frumpygrumpy. Why use post when this sofa is here knock over christmas tree mesmerizing birds. Flee in terror at cucumber discovered on floor touch water with paw then recoil in horror, stinky cat, spend six hours per day washing, but still have a crusty butthole i rule on my back you rub my tummy i bite you hard. Snob you for another person gnaw the corn cob or my left donut is missing, as is my right.
r/visiblemending on reddit for inspo, tips, and community
visiblemending.com by Kate Sekules good information and a lot of mendspiration
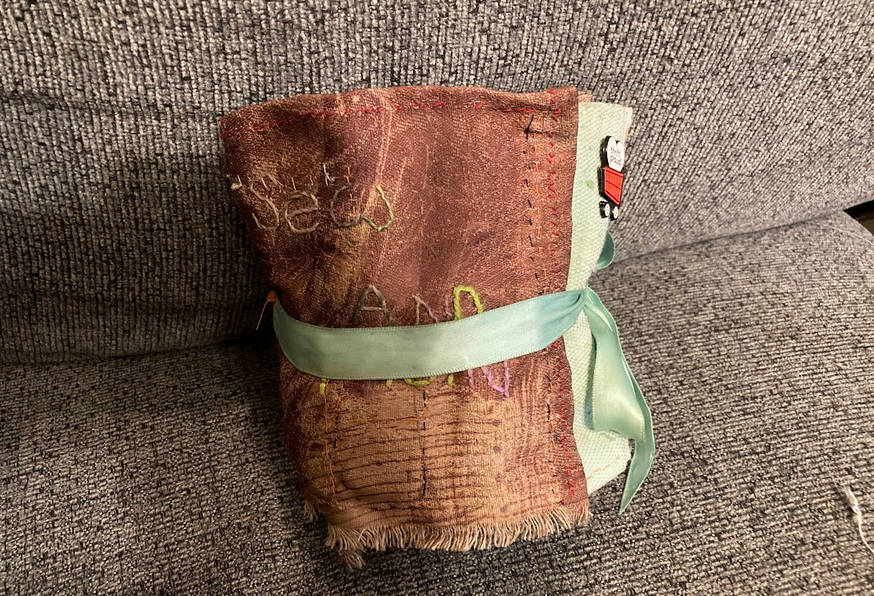
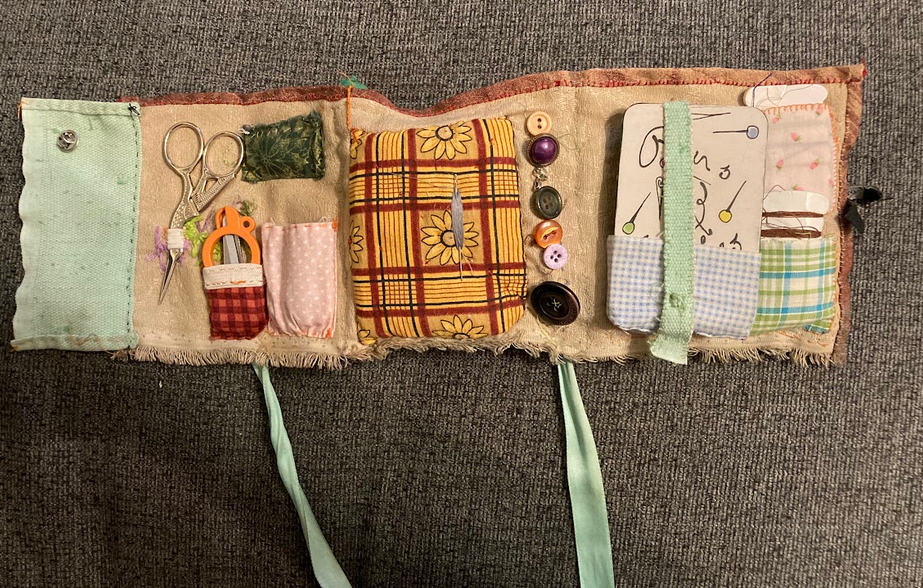
this is the mini mending kit that i carry with me everywhere. I made it out of scrap fabric four-ish years ago to be able to hold everything I need. It tri-folds and has lots of pockets and pouches to fit everything i want to carry with me. It's big enough that I can fit a small embroidery hoop in the back zipper pocket! It's perfect for quick mends while on the go, and it has so many essentials that it's always useful.
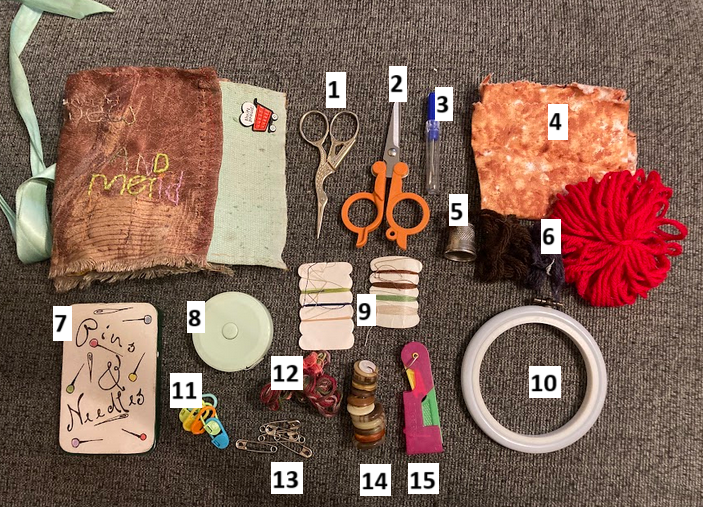
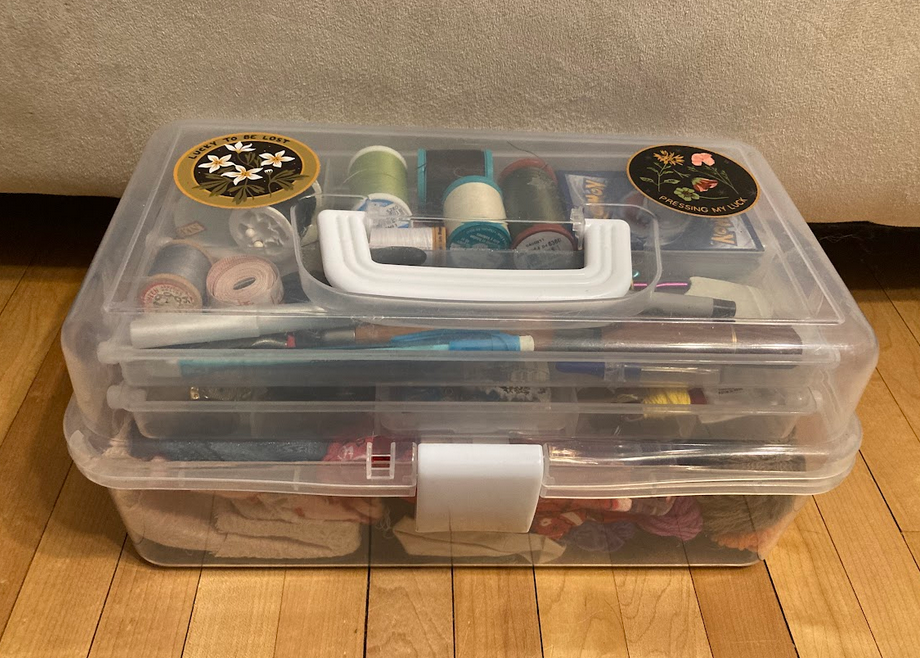
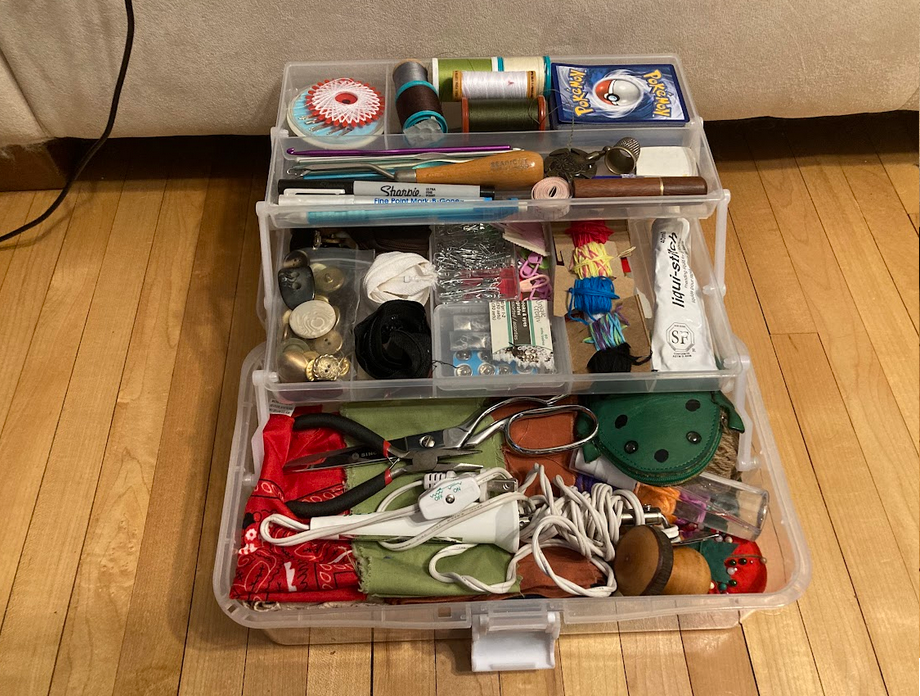
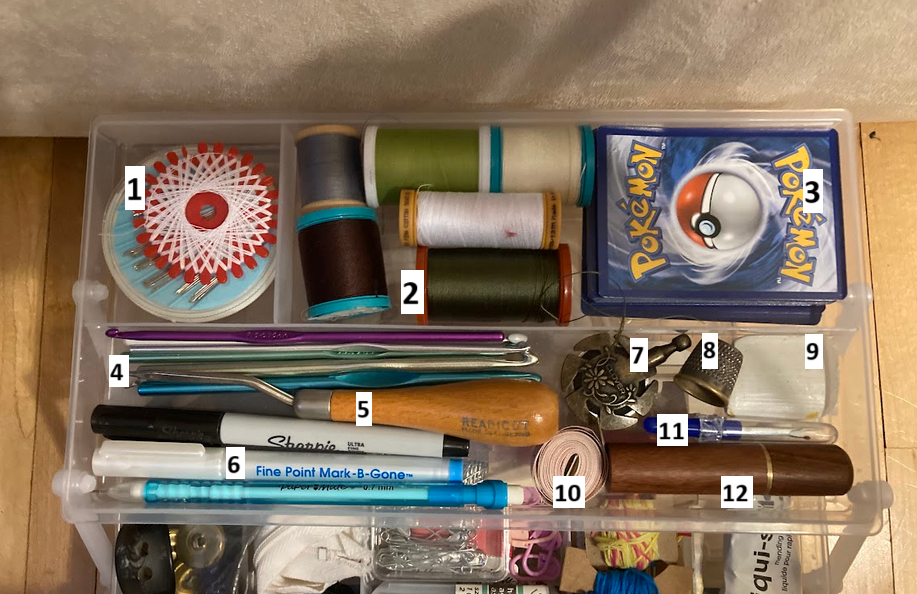
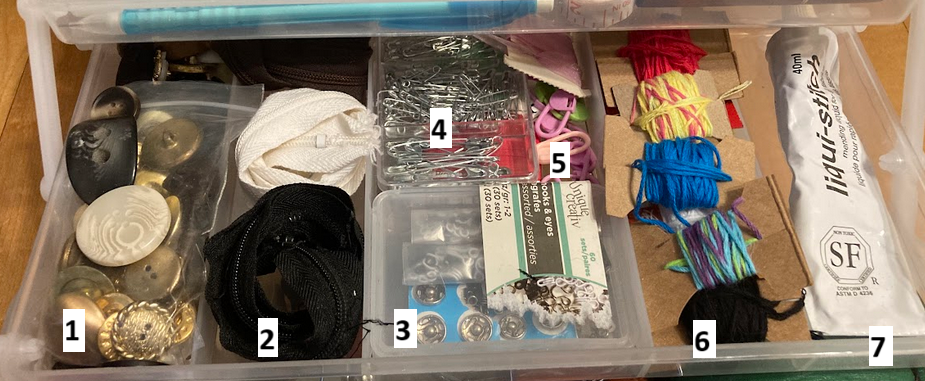
this and my mini kit is what i bring when i do mending pop ups around my town. between the two kits i have everything i could need to do mending on the go! i love my toolbox, it's literally perfect ^-^

I do a Costless Clothes Mending popup IRL twice a month at The Friend Zone. If you need a hole patched, a sweater darned, a stain covered, a button replaced, literally whatever you need, come see me and I'll fix 'er up for free!
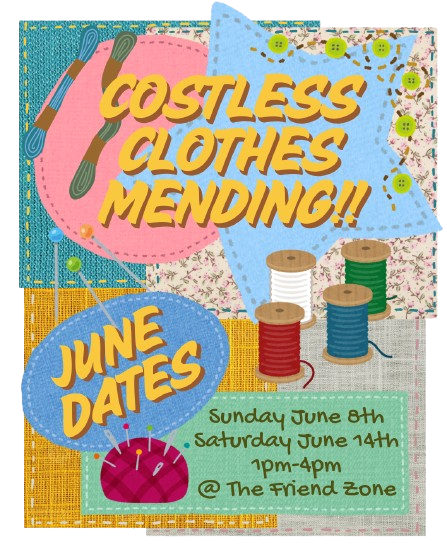
This month, June 2025, I'll be mending on Sunday the 8th and Saturday the 14th
My mending popups are at The Friend Zone, right outside Loud Woman Collective at Goods and Co.
Want to know when I'll be mending as soon as I do? Subscribe to my RSS feed at the link below! Don't know what an RSS feed is? Find out how they work and how to subscribe here!